Beans and Sardines

  • Home
  • About
  • Recipe of the week
  • Recipes
  • Wines
  • Contact
Plum Dumplings 18.jpg

Plum Dumplings Recipe

Beans and Sardines
September 16, 2021 by tina oblak in Adriatic Recipe, Appetizers, breakfast, brunch, Central European recipes, dessert, dinner, Easter treats, Eastern European recipes, Easy recipe, entrée course, Istrian cuisine, Istrian dish, Istrian food, Istrian gastronomy, main course, main dish, Mitteleuropean recipes, pudding, Rustic dish, Slovenian cuisine, Slovenian food, Slovenian gastronomy, Starters, supper, sweet course, Sweet Things, Vegetarian, Dumplings

This is a great dish for Autumn that originated in the Austro-Hungarian Empire. It is made with potato gnocchi dough in which you stuff the plums, simmer them in water, and then coat them with breadcrumbs, sugar and cinnamon mixture.

These rustic plum dumplings will become a real treat in the family since they are super delicious and easy to make! This dish is traditionally offered as a dessert, however, it is very common as a main course for lunch or dinner.

Plum dumplings are very well known and common throughout the countries that were once part of the Austro-Hungarian Empire. This dish is therefore very popular in Eastern and Central Europe as well as in Trieste and the province of Trieste in Italy.

This historical influence made plum dumplings a very appreciated meal in Slovenia, and is referred to in Slovenian as češpljevi cmoki or slivovi cmoki (češplje and slive meaning plums and cmoki meaning dumplings). They are widely available to buy frozen in bags in the supermarkets, but nothing is comparable to making them at home with this simple recipe.

This dish is very familiar to me, I grew up with it, and it was prepared frequently in the late summer and early autumn when plums are in peak season, in abundance, and with the right level of sugar and sweetness in them.

In Slovenia, where I come from, plum trees are very common to have in the back garden or in a near by orchard and the sight of these beautiful, humble, bluish purple colour fruits, almost like jewels hanging from the branches, is simply heart warming. Plums are popular to use not only for plum dumplings but also for other desserts like bake trays, tarts, jams, and compotes.

Damsons plums, being oval and small, therefore easy to handle, are the preferred and most frequently used type of plums for this recipe. Other types of plums work very well too and fresh apricots are also used frequently to make the dumplings.

If you decide to offer plum dumplings as a dessert, I would suggest to serve 2, if you decide to prepare them as a main meal then 3 or 4 depending on the size.

Plum Dumplings 1.jpg

Ingredients

Serves 6- 8 (you will get about 16 dumplings)

Ingredients for the plum dumplings

  • 16 fresh plums, Damsons plums and prune plums most commonly used, you can use other variety (plums should be sweet, ripe and fairly firm to the touch, avoid overripe with soft pulp as it gets quite difficult and messy to pit them). You can use fresh apricots instead.

  • 1kg floury, yellow-fleshed potatoes, e.g. King Edward, Maris Piper, (avoid new potatoes). I use red skin potatoes.

  • 300g all purpose flour (plus extra for flouring the board and working surface)

  • 1 egg, slightly beaten

  • sea salt, a pinch

Ingredients for the breadcrumb coating

The ingredients stated here are to coat all the dumplings, if you wish to half the quantity of dumplings half the ingredients for the breadcrumb coating

  • 100g unsalted butter

  • 5 Tbsp natural dry breadcrumbs

  • 5 Tbsp caster sugar

  • 1 Tsp cinnamon

Method

Start this recipe by making a basic potato gnocchi dough. (For more details refer to my full step by step recipe for Potato gnocchi dough)

Wash the potatoes, with the skin on, under cold running water.

Place the potatoes in a saucepan or a pot, cover with cold water and bring to boil. After the water has come to a boil, cook for about 20 minutes or until tender. Cooking time will obviously vary depending on the size of the potatoes you are using.

Don't pierce them during cooking and don't overcook them allowing the skin to burst as they will absorb too much water, alternatively you can steam them.

Remove from the pot, drain them in a colander and let them cool enough to handle, then remove the skin. If the potatoes are still quite warm to handle, the best way to remove the skin is to stick the fork though the potato and peel it using a knife.

Put the flour on a working surface, add salt and mix with the fork.

Make a well in the middle and pass the potatoes through a potato ricer while still warm as they become stickier when cooler. Allow riced potatoes to cool for few minutes and then add the egg.

With your fingers work the flour into the potato and egg, bringing the dough together, until it becomes a soft, pliable dough and do not overwork it. If the dough is too sticky, wet and soft add a bit more flour. Make sure your working surface is always well floured.

When the dough is the right consistency it should not stick to your fingers.

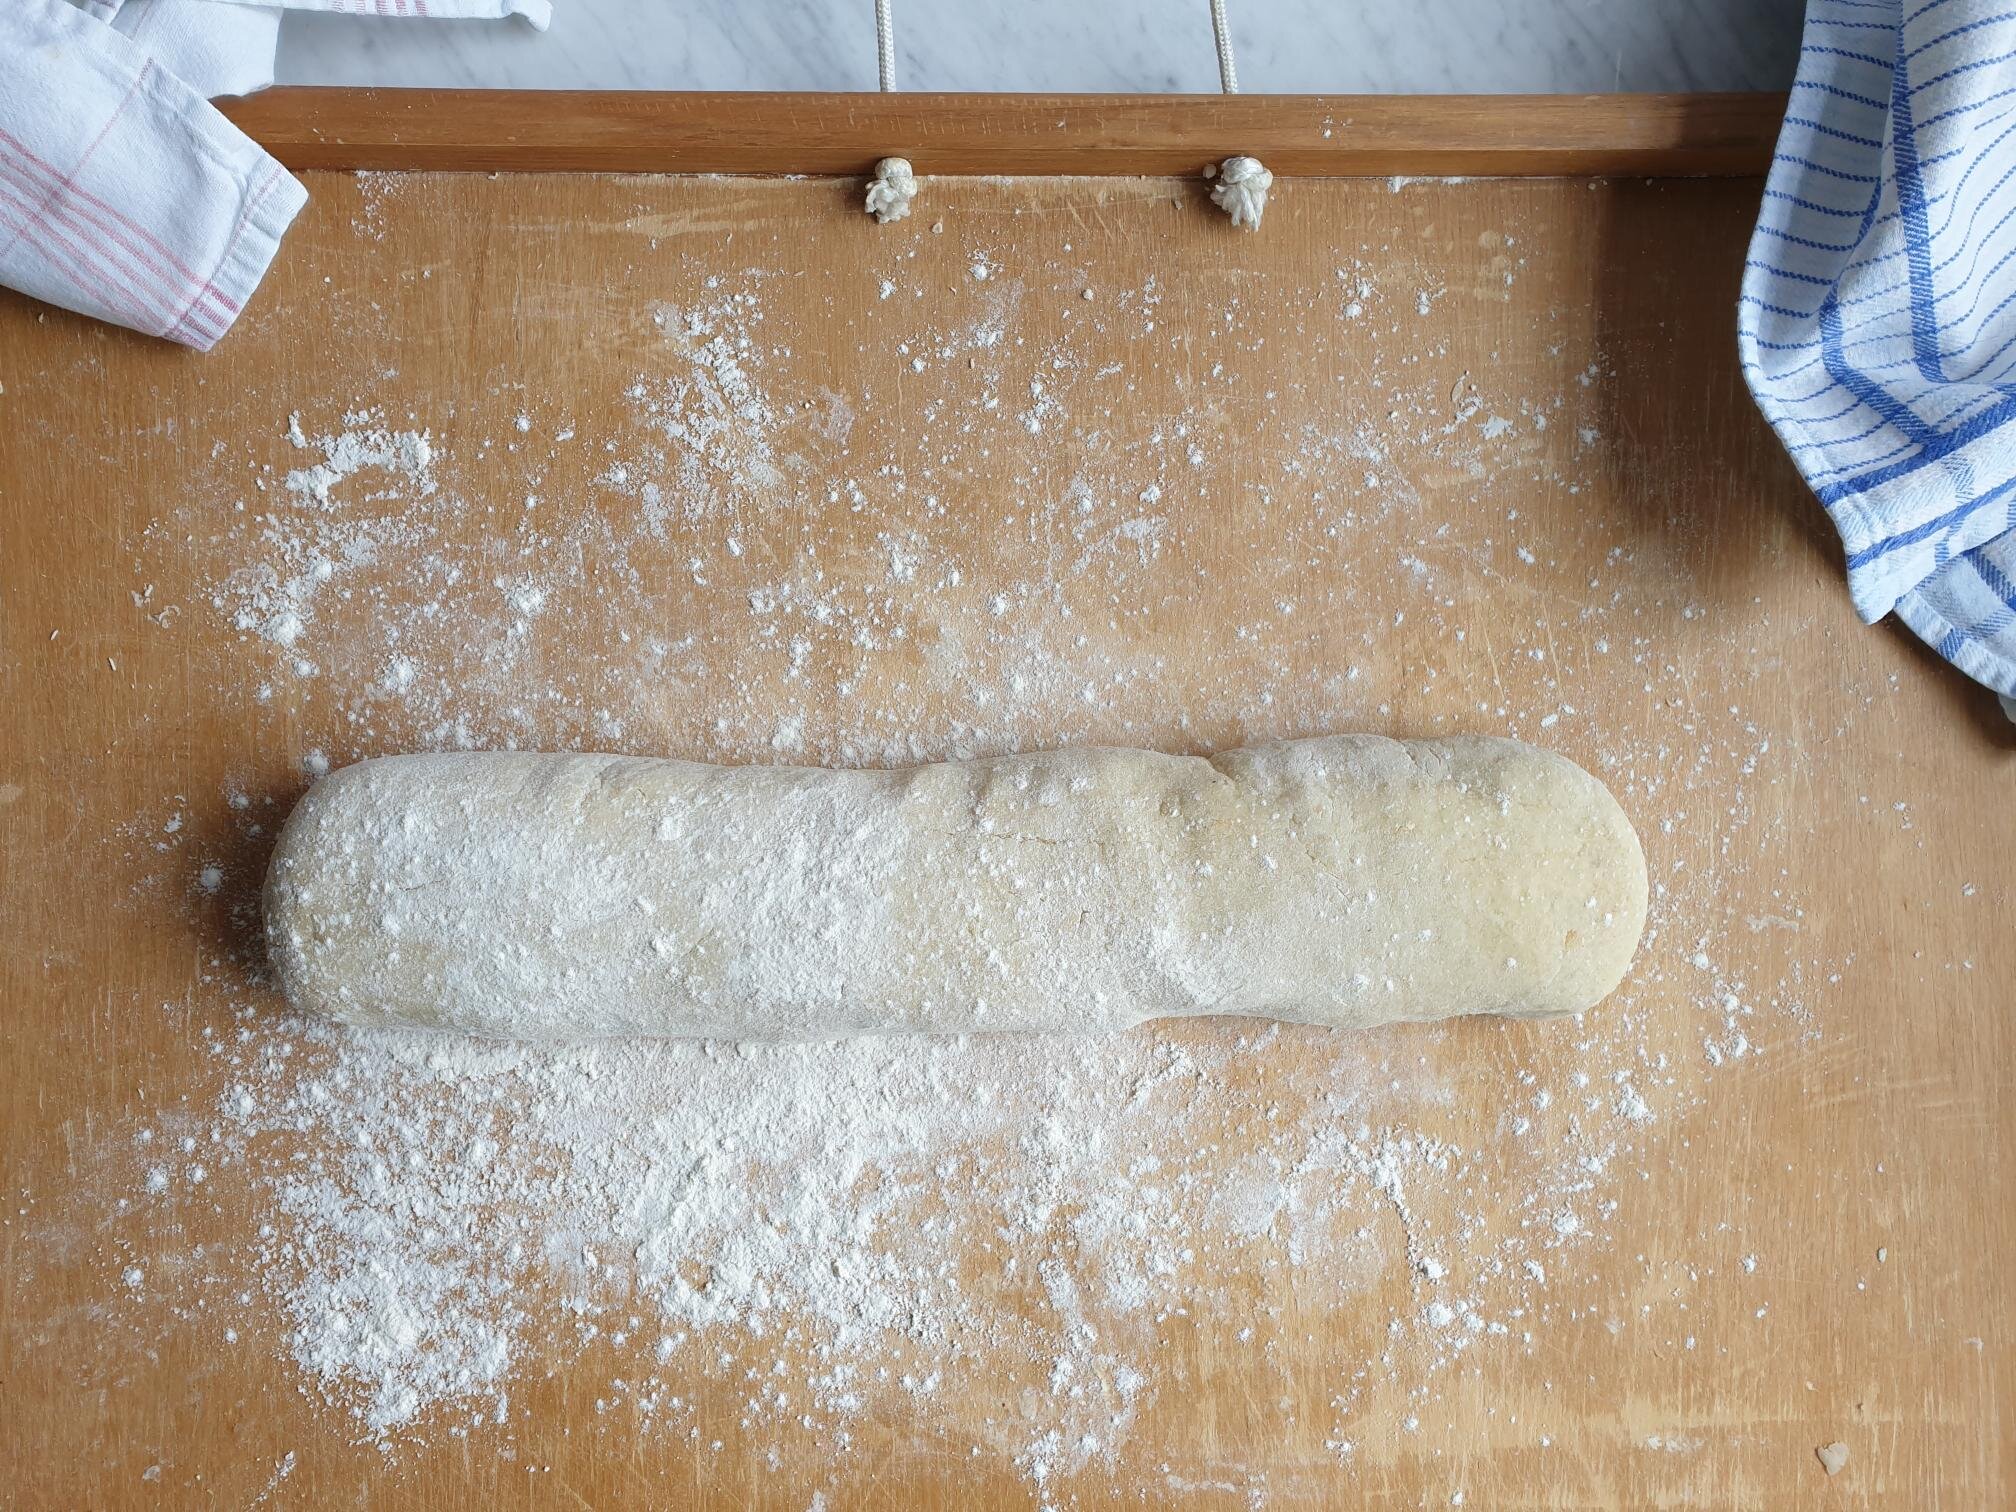
Shape the potato dough into a log.
Plum Dumplings 4.jpg

Prepare your plums by washing them and pat dry them. Then cut each plum lengthwise all the way round in order to get two halves and remove the pits.

View fullsize Plum Dumplings 2.jpg
View fullsize Plum Dumplings 3.jpg

Flour well your working surface and divide and cut the potato dough log roughly into 16 portions.

With your hands slightly floured, flatten and shape each portion into a round circle.

View fullsize Plum Dumplings 4a.jpg
View fullsize Plum Dumplings 5.jpg

Place one half of the plum in the centre and fill it with half Tsp of sugar, then place the other half of the plum on top of it.

If your plums are quite big in size, you might want to use only one half, as you will end up with very big dumplings which are more difficult to handle and not looking particularly elegant on a serving plate.

View fullsize Plum Dumplings 6.jpg
View fullsize Plum Dumpling 7.jpg

Wrap the dough tightly around the plums.

Seal the edges properly and tightly and shape it into a ball, roughly the size of a peach.

If the edges do not stick properly, dampen the edges with your fingers previously dipped in a bit of water, this will act a bit like a glue.

This step is quite important to prevent the dumplings from bursting and losing the juices during cooking.

Make sure you place each dumpling on a well floured surface to avoid sticking.

View fullsize Plum dumplings 8.jpg
View fullsize Plum Dumplings 9.jpg

It is quite crucial, when making dumplings, that you start and finish the process without interrupting for too long, as the sauce from inside the dumplings (the sugar inside the plum starts dissolving) will start leaking from the dumplings making it quite a mission to rescue them, and this is from the first hand experience!

Repeat the process until you use all the dough.

View fullsize Plum Dumplings 10.jpg
View fullsize Plum Dumplings 11.jpg
Plum Dumplings 12.jpg

Fill a large pot with water, add a generous pinch of salt and bring to boil.

Place gently each plum dumpling in a pot making sure they do not stick to the bottom.

Cook the plum dumplings in simmering water for about 12 minutes (not strong boiling as that can damage the dumplings).

They are fully cooked when they float on the surface.

While the plum dumplings are simmering, make the breadcrumbs sauce.

In a large pan, ideally non stick, melt gently the butter, add the breadcrumbs and toast for few minutes on a medium-low heat until slightly darker in colour.

Add sugar and cinnamon and mix until all the ingredients are well combined. Remove the pan from the heat to avoid burning the breadcrumbs mixture.

View fullsize Plum Dumplings 13.jpg
View fullsize Plum Dumplings 14.jpg

With a slotted spoon, remove plum dumplings from the simmering water.

Transfer them and place them in a pan with breadcrumbs mixture.

View fullsize Plum Dumplings 15.jpg
View fullsize Plum Dumplings 16.jpg

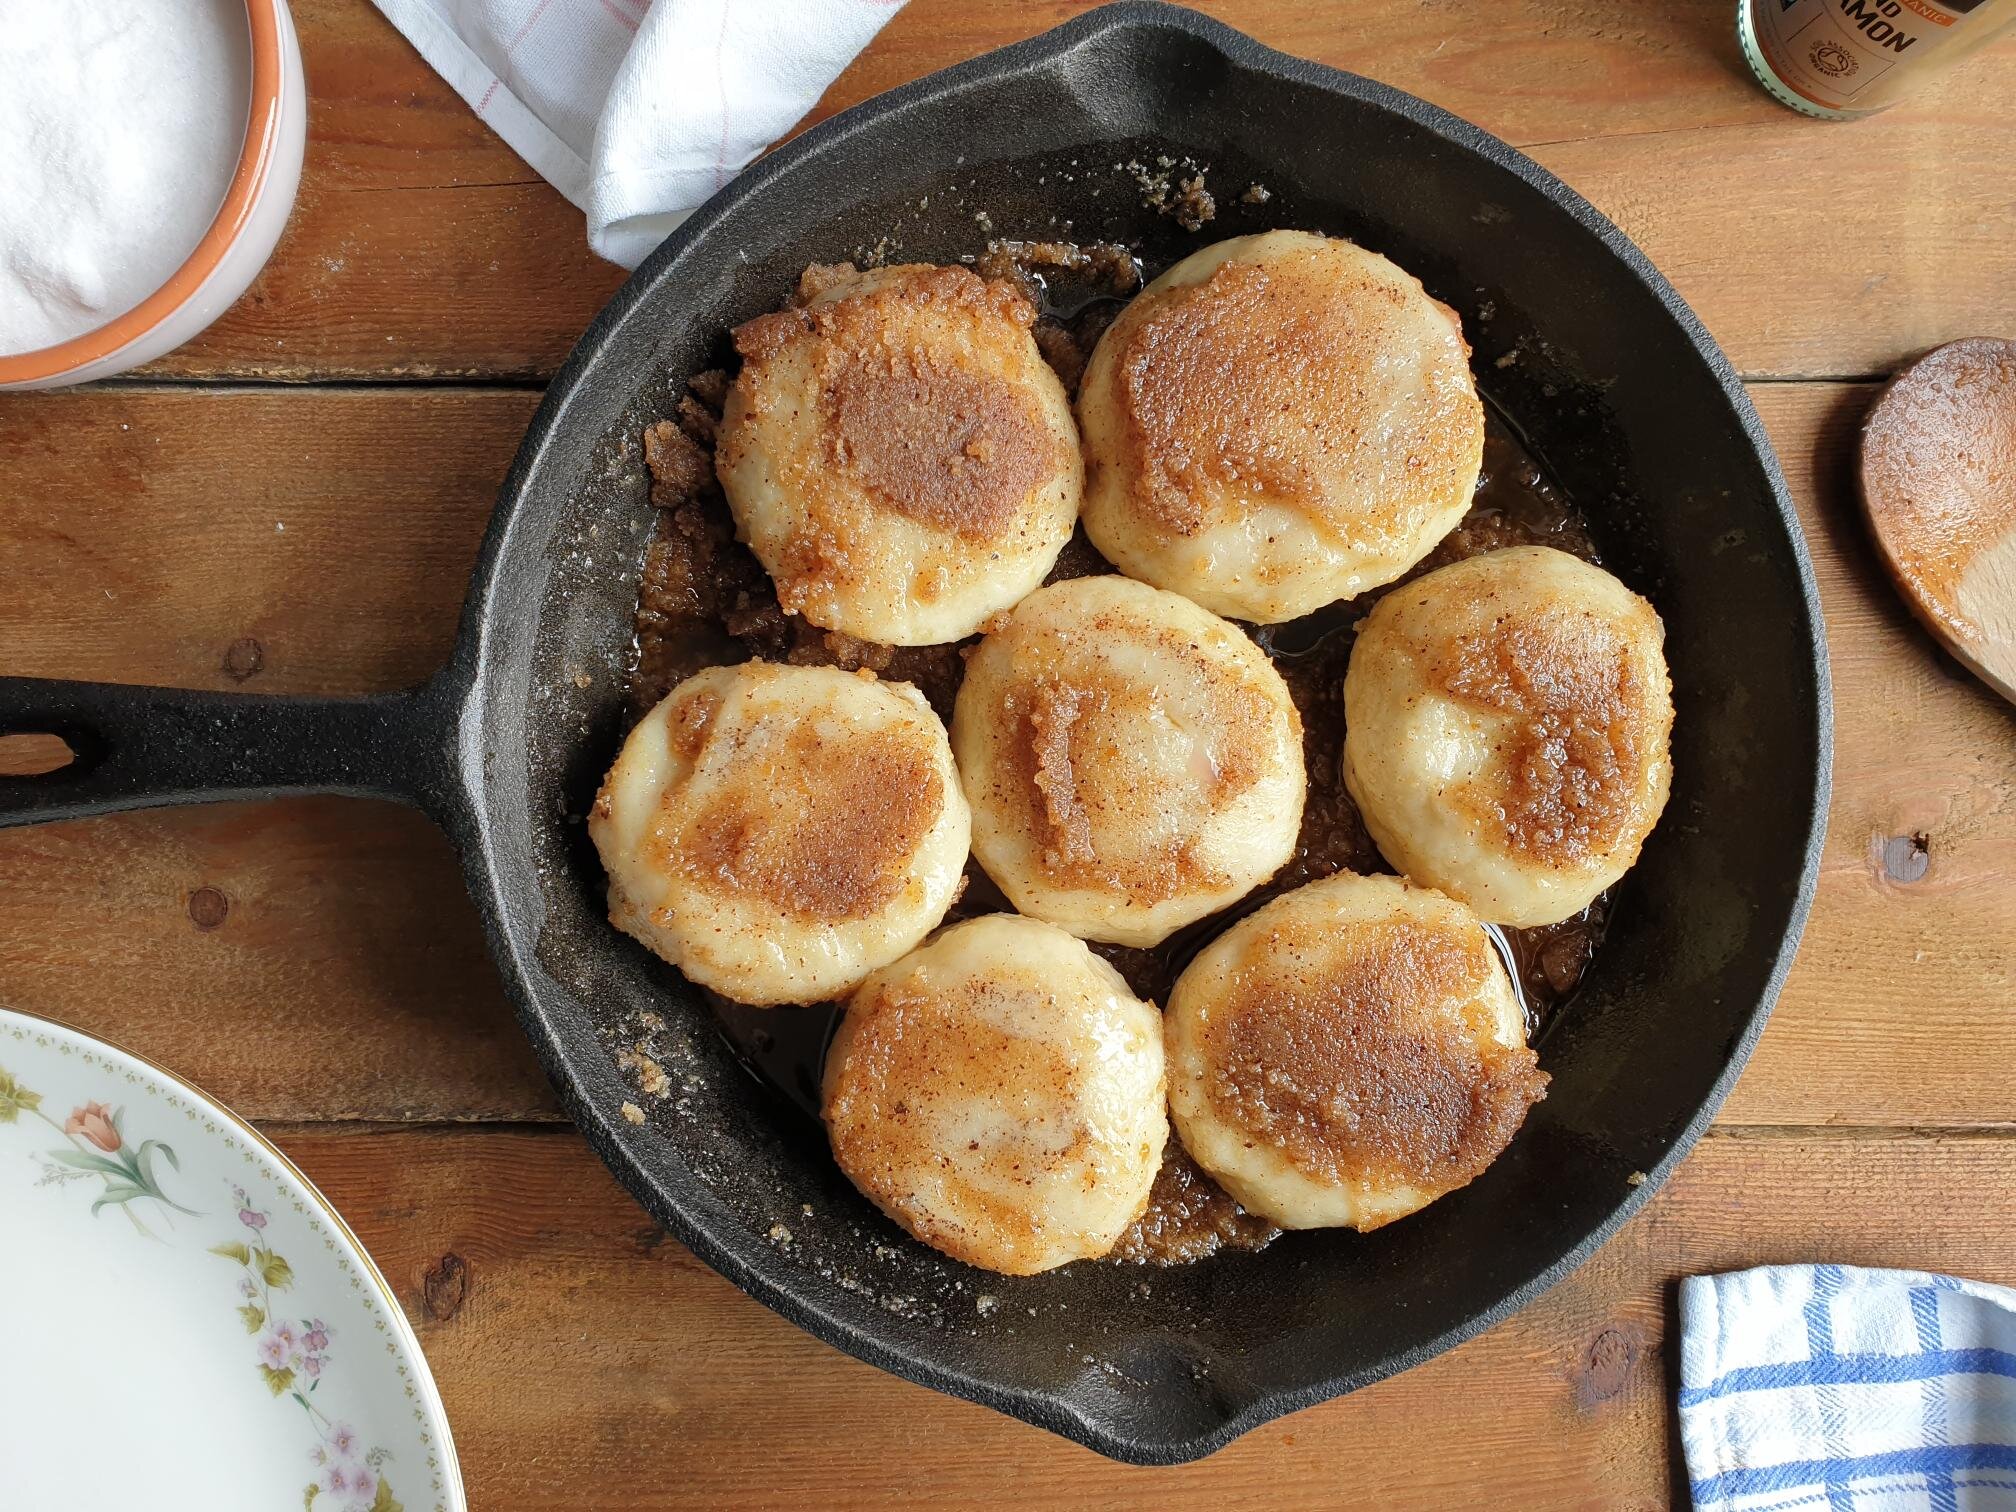
Shake the pan gently so the dumplings can roll around and get fully coated in the breadcrumbs mixture.
Plum Dumplings 17.jpg

Place on the serving plate, dust them with a bit of extra icing sugar and serve immediately. They are best eaten hot but equally delicious at room temperature.

Plum Dumplings 19.jpg

Just a thought

If you decide to only make half a batch of plum dumplings, you can use half of the potato dough for the plum dumplings and the other half for potato gnocchi. (see my full recipe step by step for potato gnocchi).

You can store cooked plum dumplings for up to three days in a airtight container.

If you need and desire to warm them up, putting them in a microwave is a good option as they retain the moisture.

The great thing about plum dumplings is also that they freeze very well. It is very important that you spread the uncooked dumplings in a single layer, leaving a bit of space between each dumpling, so they don't stick together, on a well floured wooden board, baking sheet, serving tray laid with baking parchment or with well floured kitchen cloth or similar.

Put the tray with the freshly made dumplings into a freezer, for at least 20- 30 minutes, and once frozen, put them into a freezing bag.

When you want to cook them just drop them frozen directly into a boiling salted water without defrosting them first, bearing in mind that the cooking time will be slightly longer, around 15 minutes. They are ready when they are floating on the surface.

Wine suggestion

Moscato Rosa delle Venezie IGT 2014 - Foffani

September 16, 2021 /tina oblak
Autumn Recipe, autumnal recipe, plums, plum puddings, plum desserts, potato gnocchi dough, češpljevi cmoki, slivovi cmoki, sweet dumplings
Adriatic Recipe, Appetizers, breakfast, brunch, Central European recipes, dessert, dinner, Easter treats, Eastern European recipes, Easy recipe, entrée course, Istrian cuisine, Istrian dish, Istrian food, Istrian gastronomy, main course, main dish, Mitteleuropean recipes, pudding, Rustic dish, Slovenian cuisine, Slovenian food, Slovenian gastronomy, Starters, supper, sweet course, Sweet Things, Vegetarian, Dumplings
Comment

Ćevapčići (Grilled Minced Meat Sausages of the Balkans) recipe

Beams and Sardines
July 13, 2021 by tina oblak in brunch, Central European recipes, dinner, Eastern European recipes, Easy recipe, Finger food, Istrian cuisine, Istrian dish, Istrian food, Istrian gastronomy, main course, main dish, main meat course, Meat, Mitteleuropean recipes, Slovenian cuisine, Slovenian food, Slovenian gastronomy, Small bites, supper, Balkan dish

Ćevapčići (plural and diminutive form of Ćevapčić) or Ćevapi (pronounced [ʨɛ'va:pi]) are small pieces of rolled grilled mince meat, type of Turkish kofte kebab, originally made in the Balkans during the Ottoman period. They are oriental in origin but can be traditionally found in the countries of what was formerly Yugoslavia, the Czech republic, Austria, Slovakia and the Italian province of Trieste and Gorizia.

Ćevapčići must be one of everyone's absolute favourite dishes back home in Slovenia and it is hard to imagine a barbecue without them. In fact, they are so popular, you can buy them ready made in almost every butcher shop or supermarket. They are popular street food (fast food) and became part of everyday diet in Slovenia. For meat lovers this little skinless sausages are a real dream.

As a child I have very vivid memories of going to a skiing holiday to a capital of Bosnia and Herzegovina, Sarajevo, and having the best ever, and I mean the best ever Ćevapčići in Baščaršija which is Sarajevo's old bazaar and the historical and cultural centre of the city. I was utterly fascinated by the place being so different from my native small Venetian looking coastal town of Koper. That was the first time I saw a real mosque and was captured by the beautiful Ottoman architecture.

Ćevapčići are grilled and served as a main course in groups of five to ten pieces on a plate or in a lepinja (traditional flatbread). They are commonly eaten with Ajvar (cream of roasted red peppers), chips, flat breads, pieces of spring onions or thinly sliced yellow or white onions and kajmak (type of cream cheese). What accompanies really well this dish is a fresh salad of tomatoes, cucumber, onions and any feta type of cheese, it completes the meal well.

I currently live in England where I cannot buy ready made Ćevapčići so I have decided to make them fresh from scratch, there is a great sense of satisfaction as you can tweak the ingredients to your taste.

The main ingredient is mince meat, lamb, veal pork or beef, you can mix two or three types of minced meat and there could be a variation of meat content and seasoning.

I am sharing here my father's recipe, he used to love Ćevapčići and he loved preparing them for the family.

Ingredients

Serves 4

  • 500g mince lamb

  • 500g mince beef (can use 250g of mince beef and 250g of mince pork)

  • 60g unsmoked pancetta or bacon, cut in small pieces (can use smoked alternative if prefer)

  • 180g roughly of onions (very finely chopped)

  • 1-2 clove of garlic (pressed)

  • 1 egg (slightly beaten)

  • 1 Tbsp powdered Hungarian sweet paprika

  • ¼ Tsp baking soda

  • sunflower oil for brushing

  • sea salt

  • black pepper (freshly ground)

Method

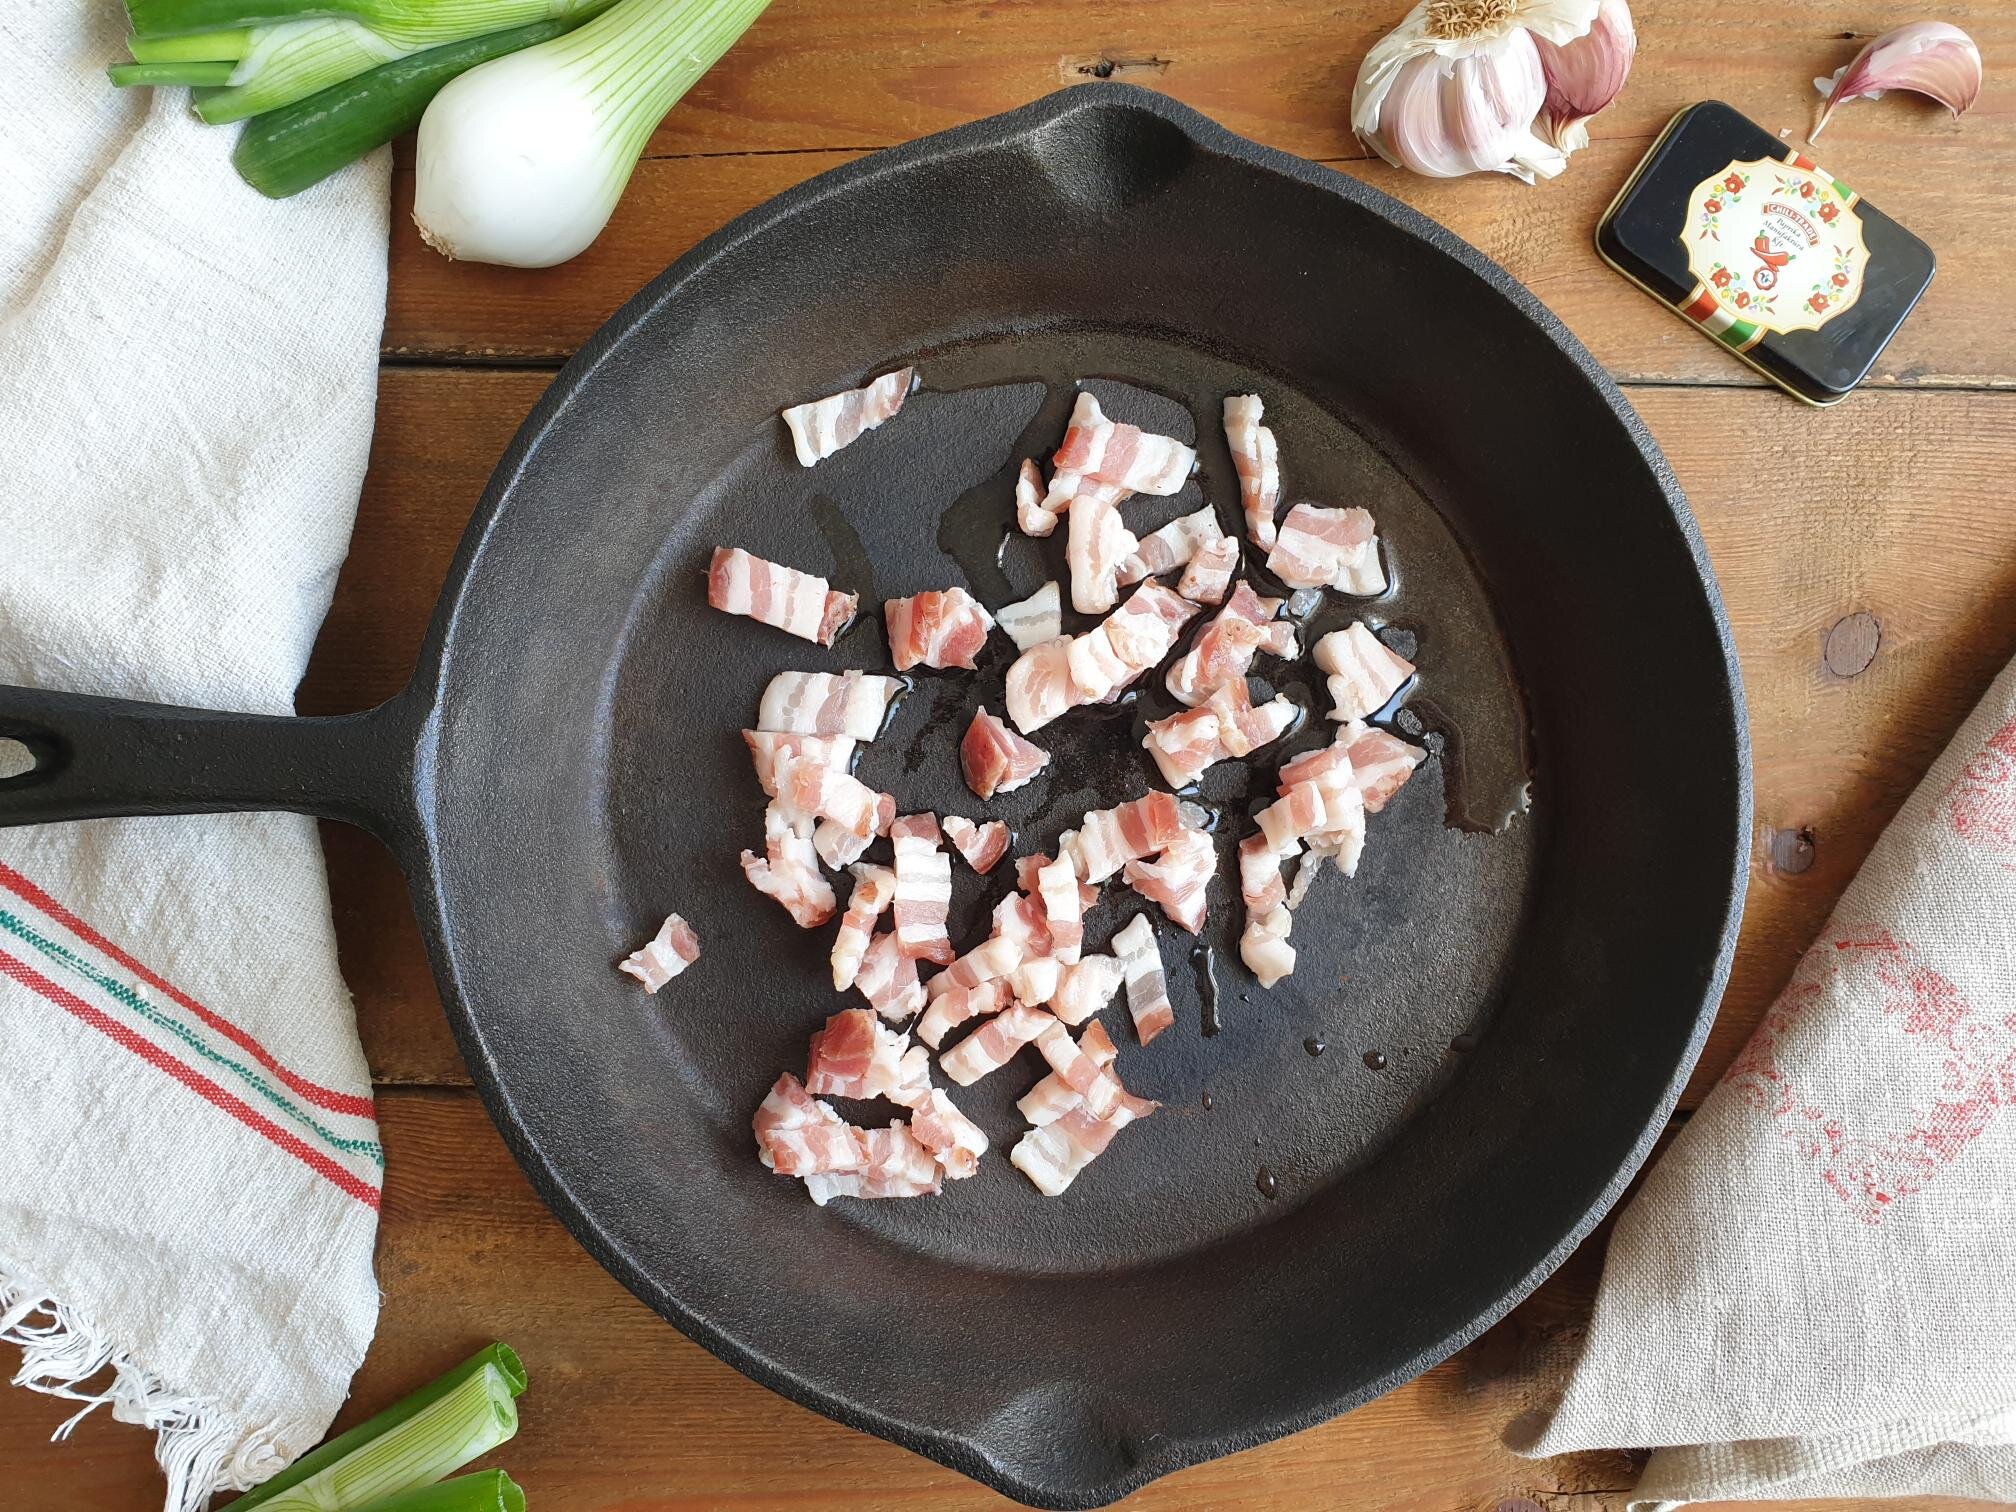
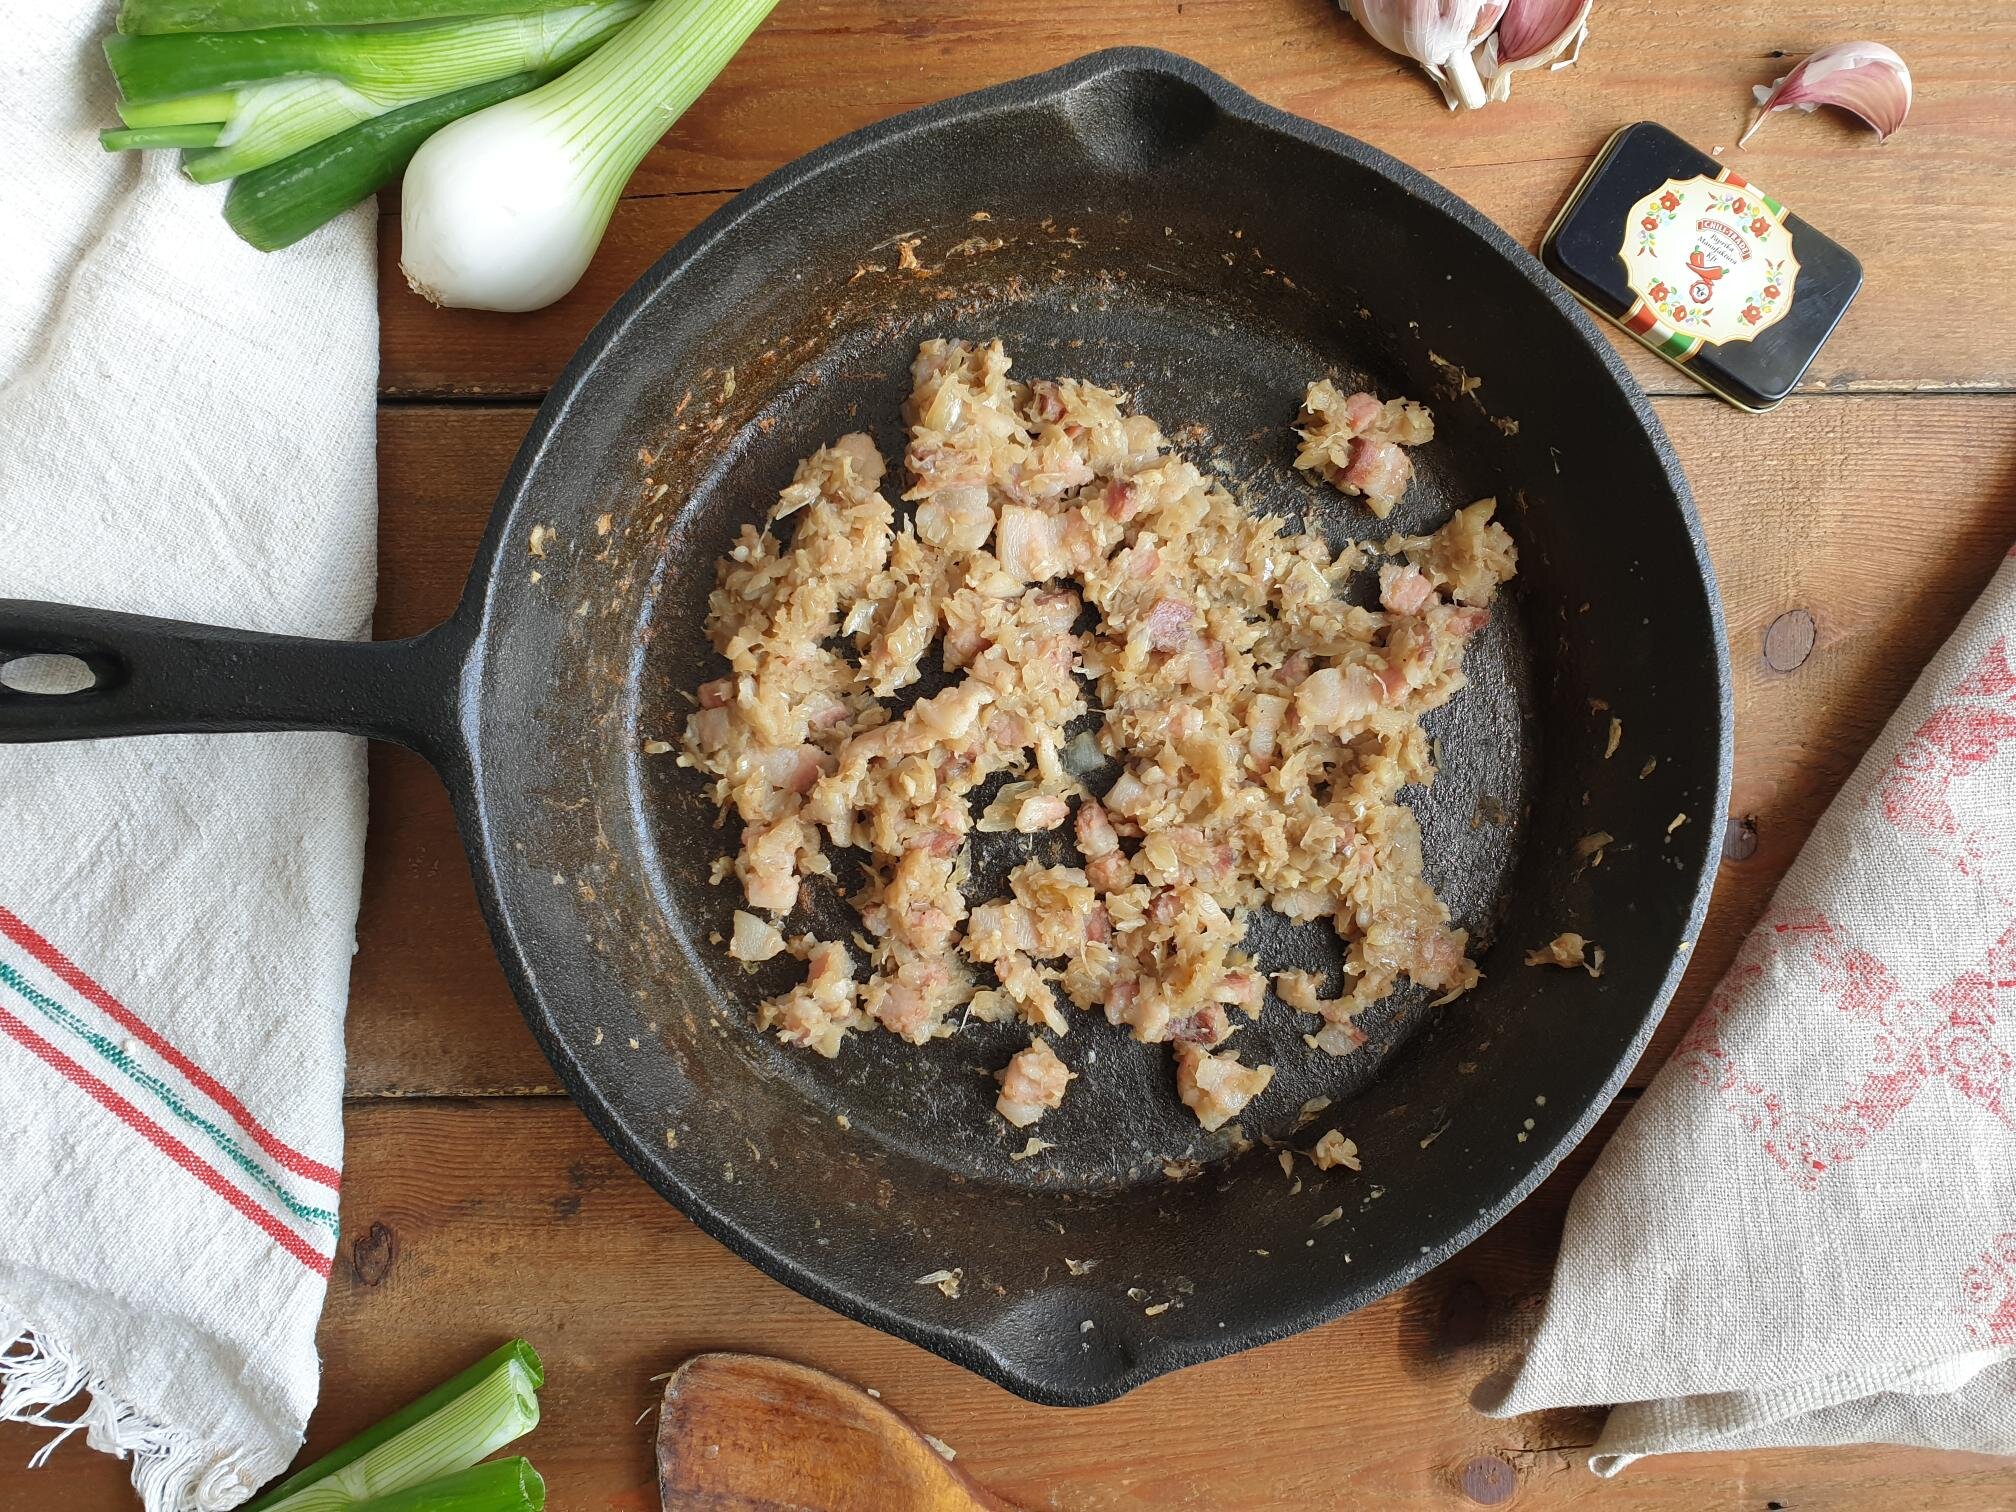
Put a table spoon of water in a frying pan and sautée on a medium heat pieces of pancetta or bacon. Turn the heat down, add the onions, garlic, a pinch of salt and fry gently, stirring frequently, until they become golden in colour and soft. It should take 10-15min, then set aside and cool.

View fullsize Cevapcici 2.jpg
View fullsize Cevapcici 3.jpg
View fullsize Cevapcici 4.jpg

Transfer the pancetta/bacon and onion mixture into a food processor, add mince meat and mix at a low speed. Pulse if you can, as you do not want a completely smooth paste but a mixture with still a bit of a texture. If you have a smaller food processor you might have to do this in batches.

View fullsize Cevapcici 5.jpg
View fullsize Cevapcici 6.jpg

Transfer the mixture from the food processor into a big bowl. Add the egg, pinch of salt, black pepper, baking soda and sweet paprika. With your hands mix well to combine all the ingredients, no food processor will do better job!

View fullsize Cevapcici 6a.jpg
View fullsize Cevapcici 6b.jpg
View fullsize Cevapcici 7.jpg

Take a size of a golf ball, weighing roughly between 30-40g and shape into small sausages of about 7-8cm long.

Place your Ćevapčići onto a big plate or a tray and refrigerate for about 1hour.

Ćevapčići are ideal for barbecuing but as this is not always possible you can cook them in a grill pan.

Barbecue or grill the Ćevapčići on the hot grill pan for about 14 minutes, turning them often in between. They are ready when nice and brown on the outside and cooked through. It might be a good idea to check by cutting one in the middle. In this way you can calculate the grilling time for the following batches.

No matter which way you choose to cook them, make sure you lightly brush them with oil during the cooking process and try not over cook them as they will go hard.

View fullsize Cevapcici 9.jpg
View fullsize Cevapcici 10.jpg

Just a thought

Ćevapčići freeze well, just make sure you freeze them individually first on a plate or a tray to avoid them sticking to each other, and then place them in a freezing bag...... and you are all set for your next BBQ outside with friends or family, or for an enjoyable meal indoors!

Wine suggestion

Carso-Kras DOC "Terra Rossa" 2009 by Branko & Vasja Čotar, Carso-Kras

July 13, 2021 /tina oblak
mince pork, mince beef, mince lamb, grilled meat, grilled sausages, BBQ, Ćevapčići, Grilled Minced Sausages of the Balkans
brunch, Central European recipes, dinner, Eastern European recipes, Easy recipe, Finger food, Istrian cuisine, Istrian dish, Istrian food, Istrian gastronomy, main course, main dish, main meat course, Meat, Mitteleuropean recipes, Slovenian cuisine, Slovenian food, Slovenian gastronomy, Small bites, supper, Balkan dish
1 Comment
Minestrone Primavera 10.jpg

Minestrone Primavera (Spring Vegetable Soup) recipe

Beams and Sardines
June 29, 2021 by tina oblak in Adriatic Recipe, Appetizers, brunch, dinner, Easy recipe, entrée course, healthy mael, Istrian cuisine, Istrian dish, Istrian food, Istrian gastronomy, main course, main dish, Nutritious dish, Rustic dish, Slovenian cuisine, Slovenian food, Slovenian gastronomy, Soups, Starters, supper, Vegetarian, Italian soups, Italian minestrone

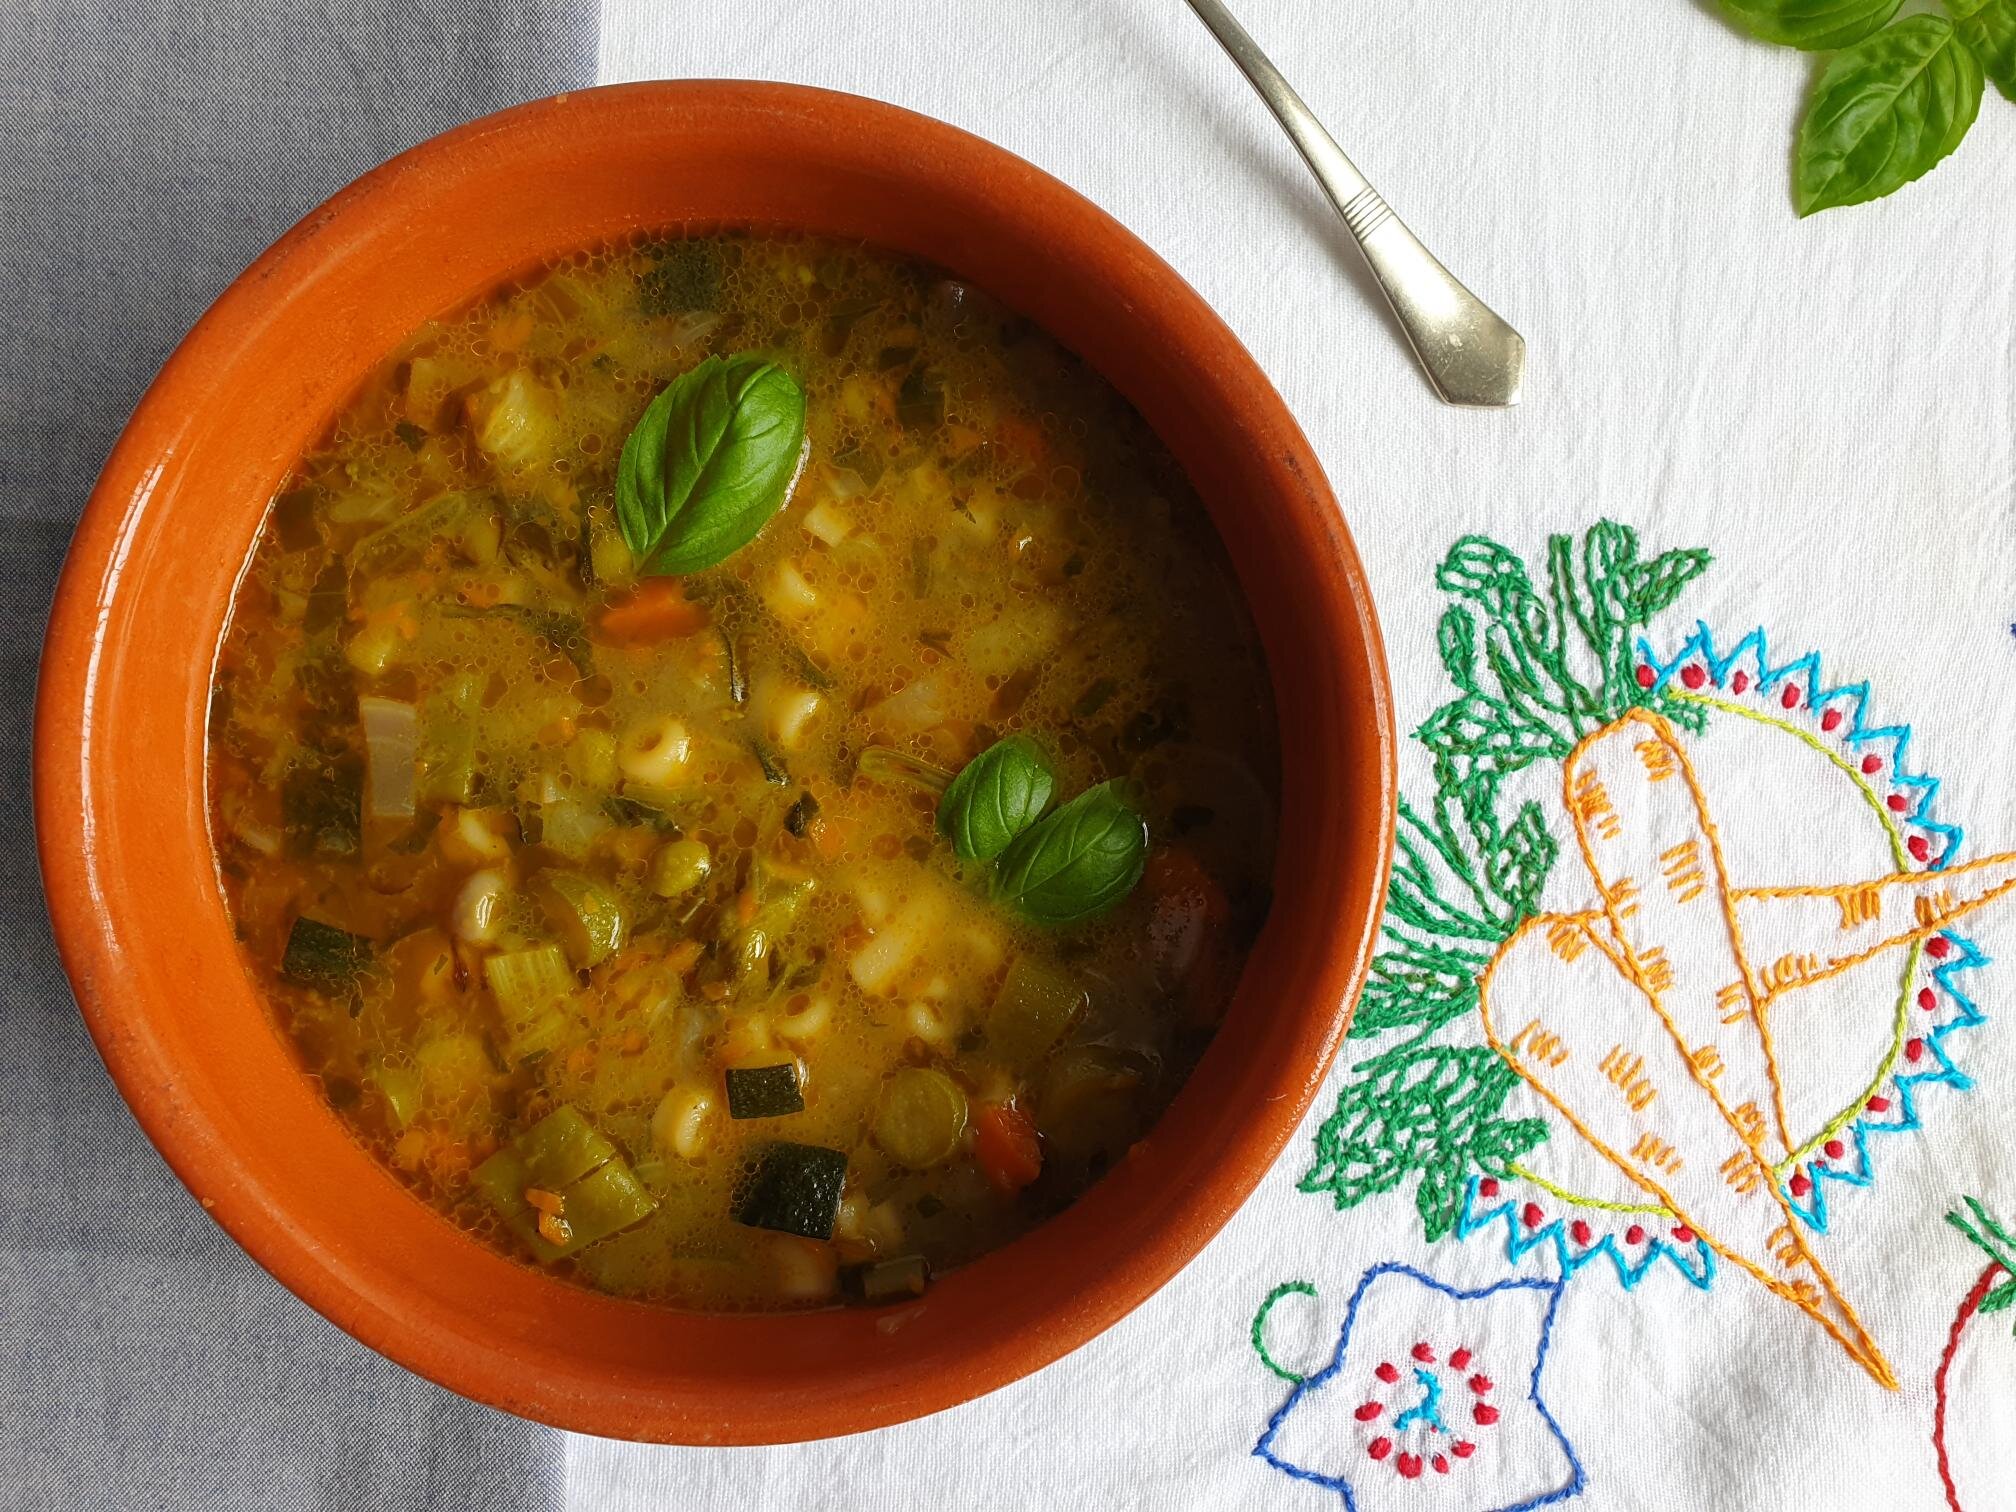
This is a really lovely soup to make, it is delicious, comforting, easy to prepare, and it is a great choice for a light lunch or dinner. It will soon become one of your favourites as it is ideal for a rustic style meal or for a more elegant option dining.

What I love about this minestrone is that it is really uncomplicated to make and it looks so pretty with all the new vegetables, yes, spring in a plate and a real celebration of springtime.

This soup is Italian in origin and due to such a close geographical proximity of my homeland it became incredibly popular, it is prepared in almost every household on a weekly basis, and because of its healthy and nutritious properties it is a popular choice in nurseries, school canteens, restaurants and nursing homes.

It is also very common to blitz or puree this soup and use it as a baby food.

In Slovenia you can find it in the menus as Zelenjavna Mineštra and in Istrian dialect being referred to as Maneštra.

This spring vegetable soup is quite light but it is very common to turn it into a more substantial meal just by adding a bit of small shaped pasta or rice, barley, freshly cooked or tinned cannellini or other type of beans, chickpeas and similar.

Minestrone Primavera is one of those dishes that was created out of necessity, using what was available in the season. The idea behind this, is that you would go to the vegetable garden during the spring and early summer season and pick the vegetables that were ready to be used in cooking. And this is exactly what my both paternal and maternal grandfathers used to do.

As a alternative, if you do not have a vegetable patch, you can go to the farmers market, food stores or supermarket and pick up the spring vegetable that you like.

The beauty of Spring minestrone is that it can never taste exactly the same, as the selection of vegetables will slightly vary each time you cook it.

My mum would make this soup very frequently especially in the spring and early summer when there are fresh vegetables available in abundance.

There are also quite a lot of regional variations of this dish like Minestrone alla Genovese, a variant typical of Liguria (Italy), that commonly uses fresh basil pesto and a greater amount of fresh herbs.

What gives this humble minestrone a real boost in flavour is to put the end of a Parmiggiano Reggiano or Padano cheese rind into the soup rather than to throw it away. The rind is that part of the cheese that develops on the outside wheel as it ages and acts as a protective layer. When you are no longer able to grate the cheese, as you get to the crust that also becomes quite hard (i.e. the rind), you do not throw the crust away, use it in a soup to enrich it as it is packed full of flavour.

It just transforms the overall taste of the minestrone, as if just by magic, you have to trust me on this one! You will be amazed what an old rind of cheese can do!

Minestrone Primavera 11.jpg

This is a poor, peasant soup, my paternal nona shared with me that when she was young ingredients were scarce, and the word abundance was almost hardly ever used when it comes to food. It is quite emotional to think how incredibly clever and creative people were to use everything they could to give them fuller flavour with something that would normally end up in the bin or compost.

Here I will share a basic recipe for the minestrone, just how it has been made in my family for generations and it is just a guide, as there is no set recipe.

20210609_114927.jpg

Ingredients

Ingredients for soffritto (Italian in origin, it is a flavour base for many dishes, gently fried chopped onions, carrots and celery in olive oil)

  • 4 Tbsp extra virgin olive oil

  • 1 medium onion, approx. 140g, finely chopped

  • 1 medium carrot (finely chopped), use 70g for soffritto and chop the rest of the carrot and use it in a soup together with the other vegetables

  • 1 celery stick (approx. 70g), finely chopped

Ideally, the onion, carrot and celery stick should be chopped quite finely when preparing soffritto. If you have a mini food processor, this is the time to use it.

The rest of the ingredients for the soup

  • courgette (approx. 100g), a handful, sliced and roughly chopped

  • 1 potato (approx 130g), peeled and cut into cubes

  • 4 runner beans, washed trimmed and sliced

  • 4 green asparagus, wash, trim off the wooden ends and finely slice the stalks leaving the tips whole

  • 4-5 radishes, washed and roughly chopped

  • 5 broad bean pods, podded

  • fresh sweet peas in pods (approx. 150g), remove the peas from the pods (frozen petits pois would do just fine, about a handful)

  • baby spinach, about a handful, chopped

  • 1 handful fresh flat leaf parsley, stalks included (that is where the flavour is), finely chopped

  • 3-4 fresh basil leaves, roughly chopped

  • 1 fresh sage leaf

  • 2l hot vegetable or chicken stock (using instant stock is perfectly fine). You can just simply use hot water if you do not have any type of stock in hand.

  • sea salt (to taste)

  • freshly ground black pepper (optional)

  • Parmiggiano Reggiano cheese rind (optional)

  • 80-100g small shaped pasta or broken up spaghetti

Method

Prepare all your vegetables as described in the Ingredients list above and put it aside.

Minestrone Primavera 12.jpg

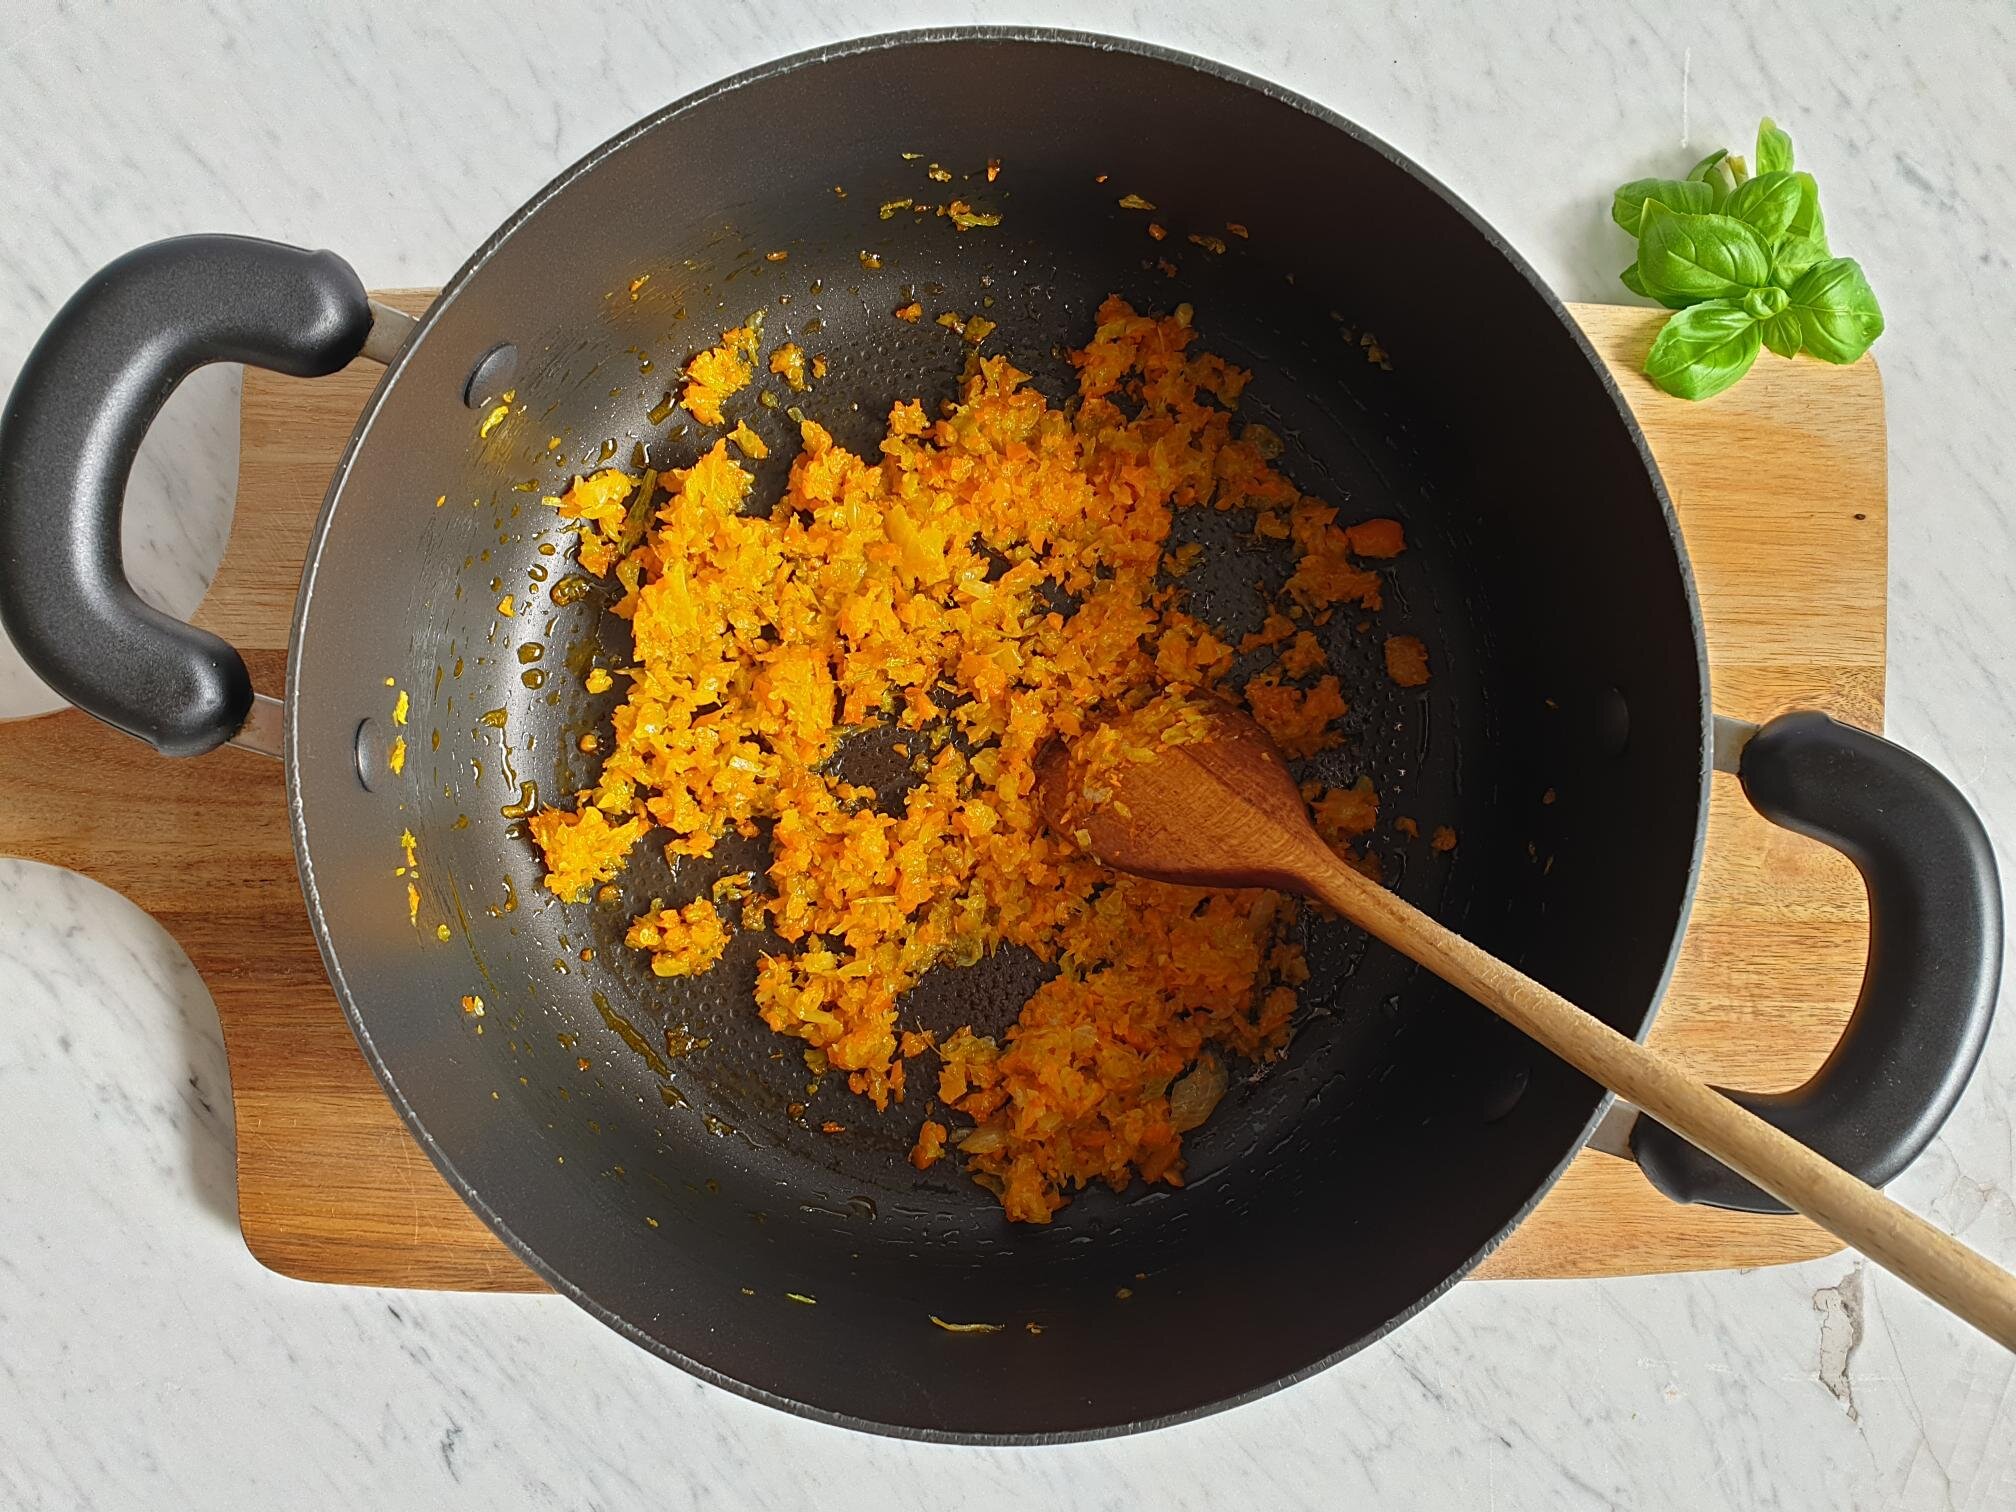
Drizzle the oil in a casserole pan, add onions, carrots and celery and prepare the soffritto by gently and slowly frying the trio of vegetables for about 15 minutes, stirring occasionally until soft.

View fullsize Minestrone Primavera 2.jpg
View fullsize Minestrone Primavera 3.jpg
View fullsize Minestrone Primavera 4.jpg
View fullsize Minestrone Primavera 5.jpg

Add all the other vegetables and fry gently together with soffritto for few minutes.

Add all the herbs, stock and cheese rind, if using, and cook for about 40 minutes.

Taste and adjust the seasoning with sea salt and black pepper. If using cheese rind there might be no need for extra seasoning as the cheese rind is quite salty already.

View fullsize Minestrone Primavera 7.jpg
View fullsize Minestrone Primavera 8.jpg

Halfway through cooking add barley, beans (already cooked or canned), rice or any other small shaped pasta you like, very traditional is to use ditalini shape pasta. It is also very common, especially when you realized you have not got any small shaped pasta or completely run out of it, to take a bit of spaghetti and break them up into smaller pieces.

I have lovely memories of my mother giving me this job when I was a child to keep me entertained.

I give this same job to my son today, to keep him entertained...

Serve it hot with freshly grated Parmiggiano Reggiano cheese and bruschetta of your choice.

Minestrone Primavera 9.jpg

Wine suggestion

Chardonnay DOC “Vigna Runc” 2019 by Il Carpino, Collio.

June 29, 2021 /tina oblak
Minestrone Primavera, spring vegetable soup, Nutritious soup, Healthy soup, Zelenjavna minestra, Zuppa primavera, Mixed vegetable soup, Mixed vegetable minestrone
Adriatic Recipe, Appetizers, brunch, dinner, Easy recipe, entrée course, healthy mael, Istrian cuisine, Istrian dish, Istrian food, Istrian gastronomy, main course, main dish, Nutritious dish, Rustic dish, Slovenian cuisine, Slovenian food, Slovenian gastronomy, Soups, Starters, supper, Vegetarian, Italian soups, Italian minestrone
Comment

Rustic Sea Bream spread recipe

Beans and Sardines
June 15, 2021 by tina oblak in Adriatic Recipe, Appetizers, brunch, Canapés, dinner, Easy recipe, Finger food, Fish & Seefood, Healthy, healthy mael, Istrian dish, Istrian food, Istrian gastronomy, Nutritious dish, Rustic dish, Small bites, Snacks, spreads, Starters

This fish spread is creamy and full of flavour and could not be simpler and quicker to make. It is rustic and informal, fantastic as a dinner party starter or as light lunch, it brings people together at the table as it is a real sharing dish and a real success every time I make it.

You can prepare this spread any time of the year but on a hot sunny day it feels somehow a bit of a treat.

Back home it is very popular starter and commonly used as a part of a selection of cold fish based starters.

This spread, like many other dishes, was created out of necessity with the left over baked fish. The fish was cleaned and the three most basic ingredients used in the North Adriatic (garlic, extra virgin olive oil, flat fresh leaf parsley) were added to the fish that was simply mashed with a fork.

Place the spread in the centre of a table, sprinkle with some extra chopped parsley or dill, a drizzle of olive oil, arrange some bread, olives, sliced tomatoes, salads, other fish based starters and really all the other things that you like.

Your family and friends will love this spread, they will ask you for the recipe or you will find them on your doorstep before you intent to invite them back.

Ingredients

Serves 4- 8

  • 2 whole baked sea breams (each weighing between 300-500g before baking) or 4 fillets (can use sea bass, mackerel or similar)

  • 1 clove of garlic, peeled and pressed (small to a medium sized garlic would be appropriate to avoid overpowering the delicate flavour of the fish, you can use big garlic if you are after a more garlicky taste)

  • 4 Tbsp extra virgin olive oil

  • fresh flat leaf parsley, stalks included, finely chopped (about a handful)

  • sea salt, to taste

  • lemon juice (optional, to taste)

Method

If using the whole fish, remove the skin and any bones from the fish.

View fullsize Sea Bream spread 1.jpg
View fullsize Sea Bream Spread-2.jpg
Sea Bream Spread 3.jpg

Place cleaned pieces of fish meat in a food processor. If you do not have food processor you can use hand blender which will give you a very smooth consistency or you can simply finely chop fish fillets and have a spread with more texture.

Add pressed garlic, extra virgin olive oil, chopped parsley and a pinch of sea salt.

Blend until smooth or blitz for more coarse consistency.

View fullsize SEa Bream Spread 4.jpg
View fullsize SEa Bream Spread 5.jpg

Taste and adjust seasoning with sea salt.

Add a squeeze of lemon juice if desired.

Serve at room temperature with fresh or toasted bread, crackers or bread sticks.

SEa Bream Spread 6.jpg

Just a though

If you bake the fish, there will be juices coming out of the fish. Spoon them up and add to the rest of the ingredients. It will really give extra flavour.

This spread can be made up to a day ahead and kept in the fridge but served at room temperature.

Wine suggestion

Ribolla Gialla IGT 2019 by I Clivi, Tre Venezie.

June 15, 2021 /tina oblak
Sea Bream, rustic fish spread, sea bream paté, home made fish spread
Adriatic Recipe, Appetizers, brunch, Canapés, dinner, Easy recipe, Finger food, Fish & Seefood, Healthy, healthy mael, Istrian dish, Istrian food, Istrian gastronomy, Nutritious dish, Rustic dish, Small bites, Snacks, spreads, Starters
Comment
Final dish- sautéed sweet peas with parsley and onion.jpg

Sautéed Early Sweet Peas with fresh parsley and onion recipe

Beans and Sardines
June 08, 2021 by tina oblak in Adriatic Recipe, brunch, dinner, Eastern European recipes, Easy recipe, healthy mael, Istrian cuisine, Istrian dish, Istrian food, Istrian gastronomy, Nutritious dish, Rustic dish, Side Dishes, Slovenian cuisine, Slovenian food, Slovenian gastronomy, supper, Vegetarian

This is a great classic side dish, light and delicious, ideal for a rustic as well as a more formal lunch or dinner, it goes with just about any meat or fish dish, and it is quick and easy to make.

It can also be used as a base for pasta and risotto dishes and is very tasty used in frittatas and on top of bruschetta.

It is ideal to make this dish in spring using fresh peas as they are very sweet and tender. For this recipe, however, you can use fresh peas when in season but frozen petits pois are the ones I use most of the time as they are great alternative to the fresh peas when they are not in season and can be enjoyed all year round.

My mother made sautéed peas very frequently, they are nutritious, healthy and delicious, and they were served on a weekly basis, used fresh when in season but most of the time my mother used frozen petits pois as an alternative.

As a child I loved going to the allotment with my maternal grandparents and have vivid memories picking the pea pods from the plant. I also remember being always amazed walking home with big wicker baskets full of pea pods and ending up with half of what we picked after removing the peas from the pods.

I found picking the pea pods very entertaining, I liked very much opening the pods and finding this lovely vibrant green peas inside them.

As a child, I also soon spotted the opportunity to play and as the peas were all different sizes I would create a long line of peas starting with the smallest.

I thought that was great fun, it also provided fantastic healthy snack, I ate them as I went along creating this pea chain.

My most heart-warming memories around peas, whether they were picked at the allotment or bought at the farmers market, must have been me sitting at the table with my mother or paternal grandmother, and remove the peas from the pods. It provided the opportunity just to be together, have conversation or just stay in silence and smile at each other, I guess I felt reassured, loved...

View fullsize Ingredients- sautéed sweet peas 1.jpg
View fullsize Ingredients- sautéed sweet peas 2.jpg

Ingredients

Serves 4 as part of meal

  • 1kg fresh early sweet peas in pods (after removing the pods you should end up with roughly between 400- 500g of peas)

    You can use sugar snap peas, in this case you will need about 2kg to get roughly 400g of peas after removing the pods.

    In both cases do not worry if you end up with more or less peas. Just use what you end up with after taking them outside the pod and follow the recipe.

    You can also use frozen Petits Pois (about 500g) or canned peas.

  • 4 Tbsp extra virgin olive oil

  • 1 onion, medium size (about 130g), finely chopped

  • fresh flat leaf parsley, about a handful, finely chopped

  • hot vegetable stock or Bouillon powder instant stock

  • sea salt (only needed if using vegetable stock without the salt)

Ingredients- sautéed sweet peas 4.jpg

Method

If using fresh peas, clean and prepare them by removing the peas from inside the pods and discard the pods.

Ingredients- sautéed sweet peas 3.jpg

In a skillet add the olive oil and onions and sautéed them over gentle heat until lightly browned and softened (this should take 5-7 minutes).

View fullsize sautéed sweet peas 5.jpg
View fullsize sautéed sweet peas 6.jpg

Add the peas, fresh or frozen, and sautéed them together with the onions for few minutes. If using frozen peas cover with the lid as it will help to defrost them quicker.

Add fresh parsley and hot vegetable stock just enough to completely cover the peas.

View fullsize sautéed sweet peas 7.jpg
View fullsize sautéed sweet peas 8.jpg

Cook uncovered over medium heat, stirring occasionally, until all the liquid is absorbed but the peas are still nice and moist and not dry (it should take around 15 minutes).

Taste and season with sea salt if needed and serve warm.

sautéed sweet peas 10.jpg

Just a thought

You can keep the cooked peas in the fridge, in a airtight container, for about two or three days.

They freeze very well, so good side dish to prepare ahead.

June 08, 2021 /tina oblak
sautéed peas, sautéed sweet peas, sautéed early sweet peas, sweet peas with fresh parsley and onion, sautéed petits pois, sautéed peits pois woth fresh parsley and onion
Adriatic Recipe, brunch, dinner, Eastern European recipes, Easy recipe, healthy mael, Istrian cuisine, Istrian dish, Istrian food, Istrian gastronomy, Nutritious dish, Rustic dish, Side Dishes, Slovenian cuisine, Slovenian food, Slovenian gastronomy, supper, Vegetarian
Comment
Frittata with dry sausage 1.jpg

Frittata with dry sausage (salami) recipe

Beans and Sardines
June 01, 2021 by tina oblak in Adriatic Recipe, Appetizers, breakfast, brunch, Canapés, Central European recipes, entrée course, Finger food, Istrian cuisine, Istrian dish, Istrian food, Istrian gastronomy, main course, main dish, Rustic dish, Slovenian cuisine, Slovenian food, Slovenian gastronomy, Small bites, Snacks, dinner, supper

Frittata with dry sausage is a quick and easy midweek lunch or dinner and a great weekend breakfast or brunch option. Fantastic eaten hot but often served at room temperature and perfect to make ahead for picnics and larger groups. Serve it with rustic bread or polenta and a salad. Great also as a sandwich filling.

To me, however, this simple dish is more than just a quick meal solution.

Both my grandfathers loved frittatas, and not without a glass of red wine! They would normally have it upon the return back home late morning after working in the allotments or in the olive grove.

My paternal grandfather really liked dry sausage frittata while my maternal grandfather was really keen on wild fresh herbs frittata but both really liked wild asparagus and pancetta (or without) variation. All three typical in the region.

This simple dish, similar to an omelette, is Italian in origin (frittata is an Italian word and roughly translates to “fried”) but due to such a close geographical proximity to Italy, frittata found a huge popularity in a local cuisine and could be referred to as Fritaja s klobasami – Fritata or Frtalja s klobasami and Fritaia con le luganiche in Istrian dialect. All these names come from the Venetian word fritaia.

Amazingly, this simple frittata with dry sausage, is a speciality in Istria and also has a deep meaning in a local folklore. This type of frittata is typically made especially during Carnival period (festive season that occurs before the liturgical season of Lent). In rural areas and particularly in small villages locals dressed up in different Carnival costumes. In groups they would walk from house to house singing traditional folk songs accompanied by sound and the melodies of the accordion, usually played by one member of the group.

As a sign of appreciation for entertaining and lifting the spirits, they received food gifts which consisted of fresh eggs, dry sausages, salami, crostoli, fritole (typical Carnival sweet things) and also wine.

When this simple Carnival procession was over, the participants would gather in somebody's home and frittata with dry sausage was made and other dishes were prepared with everything they received.

All the food was displayed on the table, shared and enjoyed, often ending up in excessive consumption of alcohol and other foods that will be forgone during upcoming Lent. There was a lot of singing and dancing, this is how local people came together and enjoyed each other company, the festive period and the the end of harsh winter.

My nona Nada also shared with me a lovely story, telling me that this festive season also provided the opportunity for young men and women to casually meet and possibly fall in love...

Frittata with dry sausage 2.jpg

Ingredients

Serves 4

  • Italian dry sausage/salami (about 150g), can use French sausage (saucisson), Spanish Chorizo (the important thing is that they are not too dry and hard, when buying should feel a bit soft when squeezing)

  • 6 eggs, beaten or whisked

  • 1 Tbsp extra virgin olive oil

  • sea salt, to taste (bear in mind the sausages are dry cured and taste salty already)

  • black pepper, freshly ground (to taste)

Method

Peel the dry sausage, place it on a chopping board, slice it, half it and then cut it into quarters.

View fullsize Frittata with dry sausage 3.jpg
View fullsize Frittata with dry sausage 4.jpg

In a separate bowl whisk the eggs and season with salt and pepper.

Frittata with dry sausage 5.jpg

Put the oil in a skillet, ideally non stick, and heat it.

Sauté and lightly sear the sausage on a medium high heat stirring frequently.

Frittata with dry sausage 6.jpg

Pour the egg mixture in the skillet over the sausage, turn the heat to fairly low and cover with the lid (glass lid with steam hole works very well, if you have it). Also, using a slightly bigger lid than the skillet will help to keep the frittata “dry”. Lid that fits perfectly on top of the skillet could potentially trap quite a bit of steam and possibly making your frittata a bit wet.

The use of the lid will also help to cook the frittata evenly, avoiding the bottom of frittata being almost burnt and the egg mixture on the top being still raw, runny and unset.

Cook the frittata for about 20 min. The frittata is cooked when the underside is set and the egg mixture on the top no longer runny.

Frittata with dry sausage - Recipe.jpg

Just a thought

In this recipe, I have chosen to cook the frittata on the stove with a lid as my family has always used this method. I have also bear in mind that not everyone has a skillet that can go in the hot oven or under the grill.

However, if you are familiar cooking the frittata in the oven, and that is your preferred method, it is perfectly fine to do so.

Wine suggestion

Refosco dal Peduncolo Rosso IGT 2017 by Vigna Petrussa, Venezia Giulia.

June 01, 2021 /tina oblak
Italian salami, dry sausage, chorizo sausage, french sausage, saucisson, fresh eggs, frittata, Istrian frttata, Fritaja s klobasami
Adriatic Recipe, Appetizers, breakfast, brunch, Canapés, Central European recipes, entrée course, Finger food, Istrian cuisine, Istrian dish, Istrian food, Istrian gastronomy, main course, main dish, Rustic dish, Slovenian cuisine, Slovenian food, Slovenian gastronomy, Small bites, Snacks, dinner, supper
Comment
  • Newer
  • Older