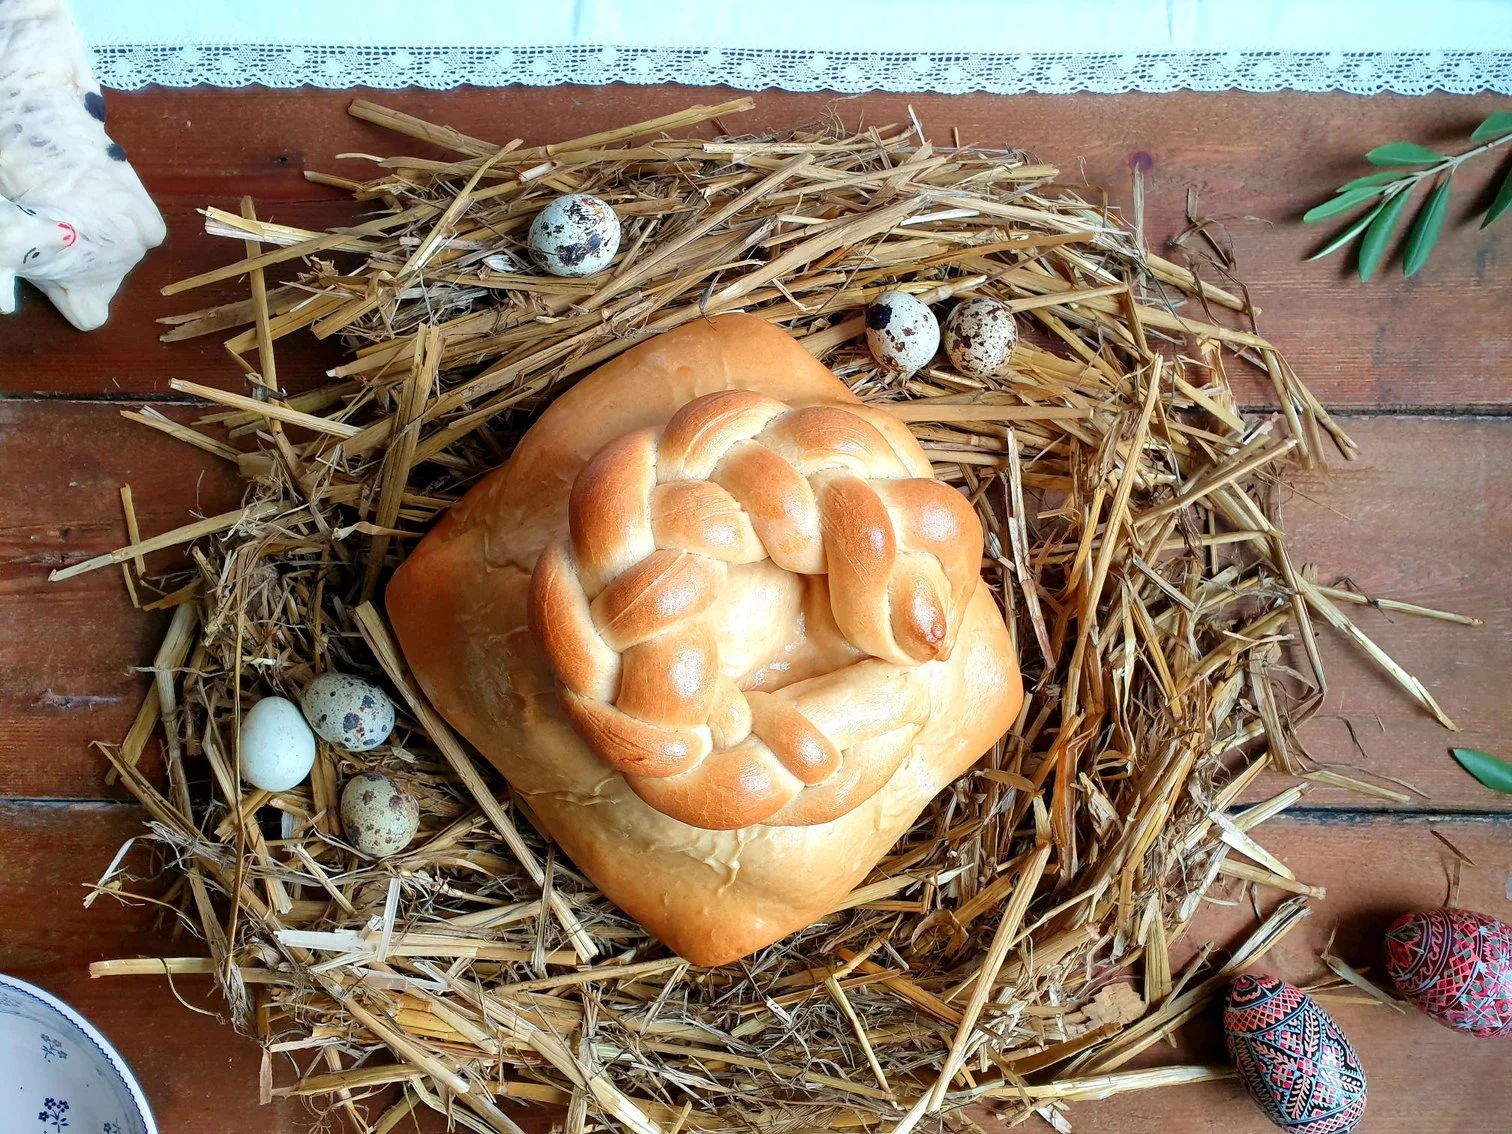
Cooked ham in bread dough Recipe
Cooked ham in bread dough is a real show stopper and a crowd pleaser, this recipe goes back to medieval times when it was customary cooking various types of meats in bread dough.
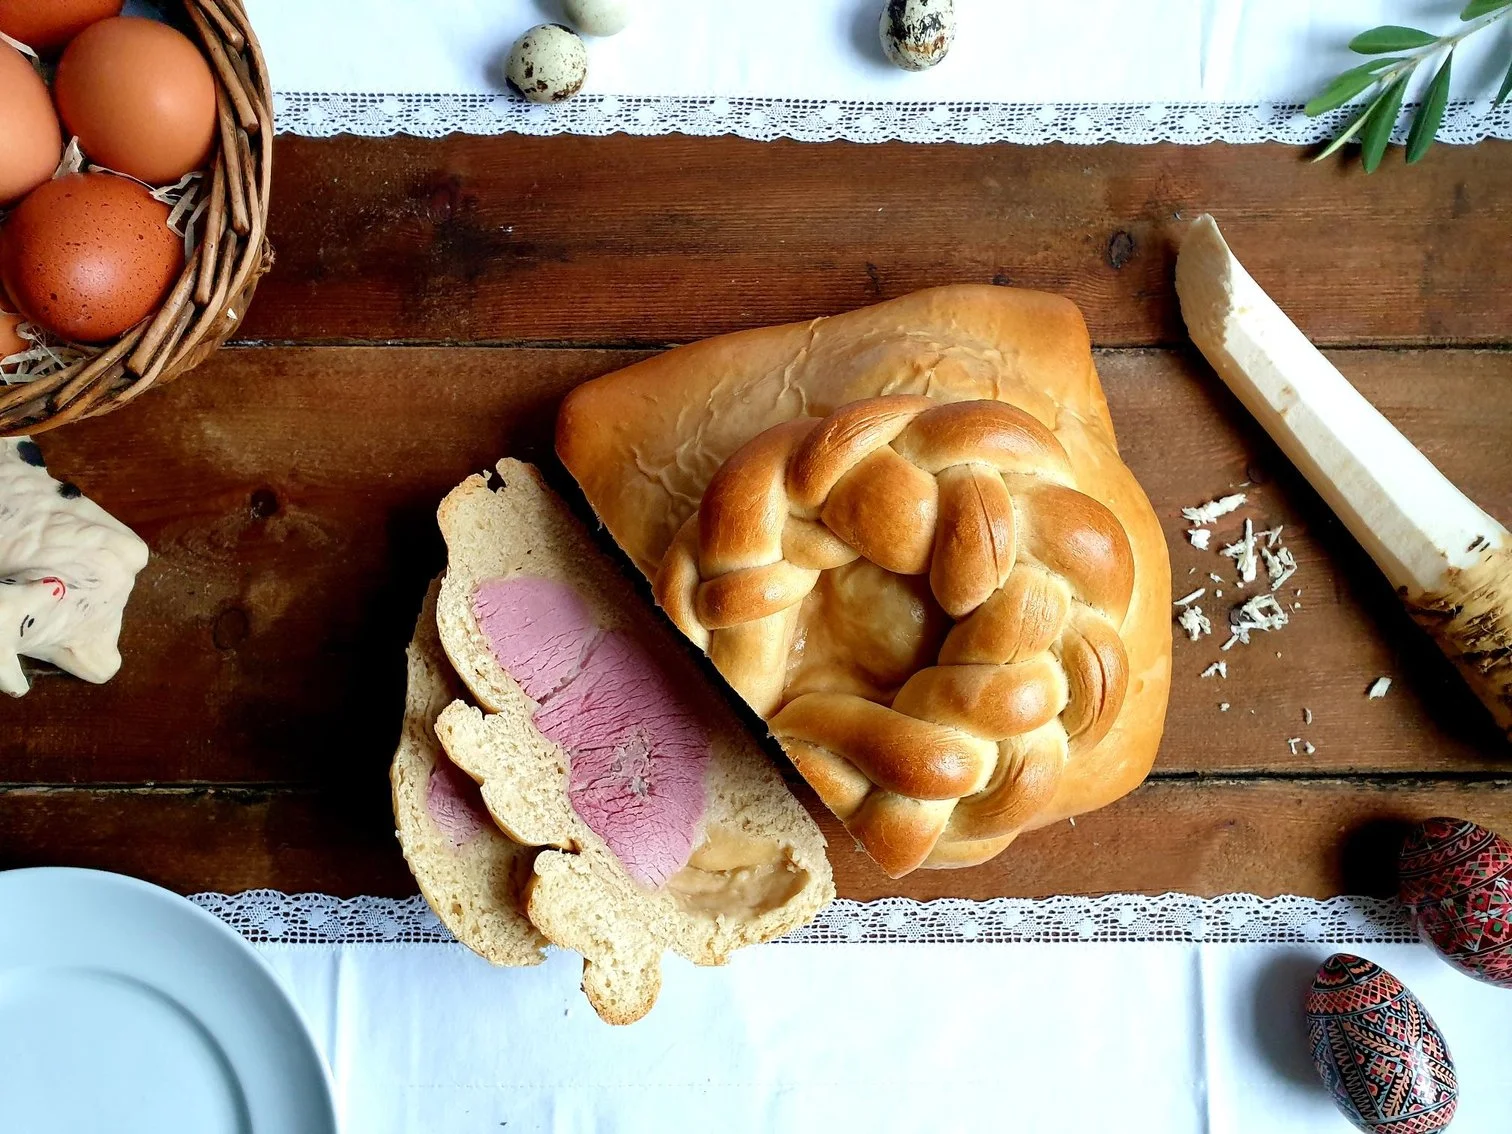
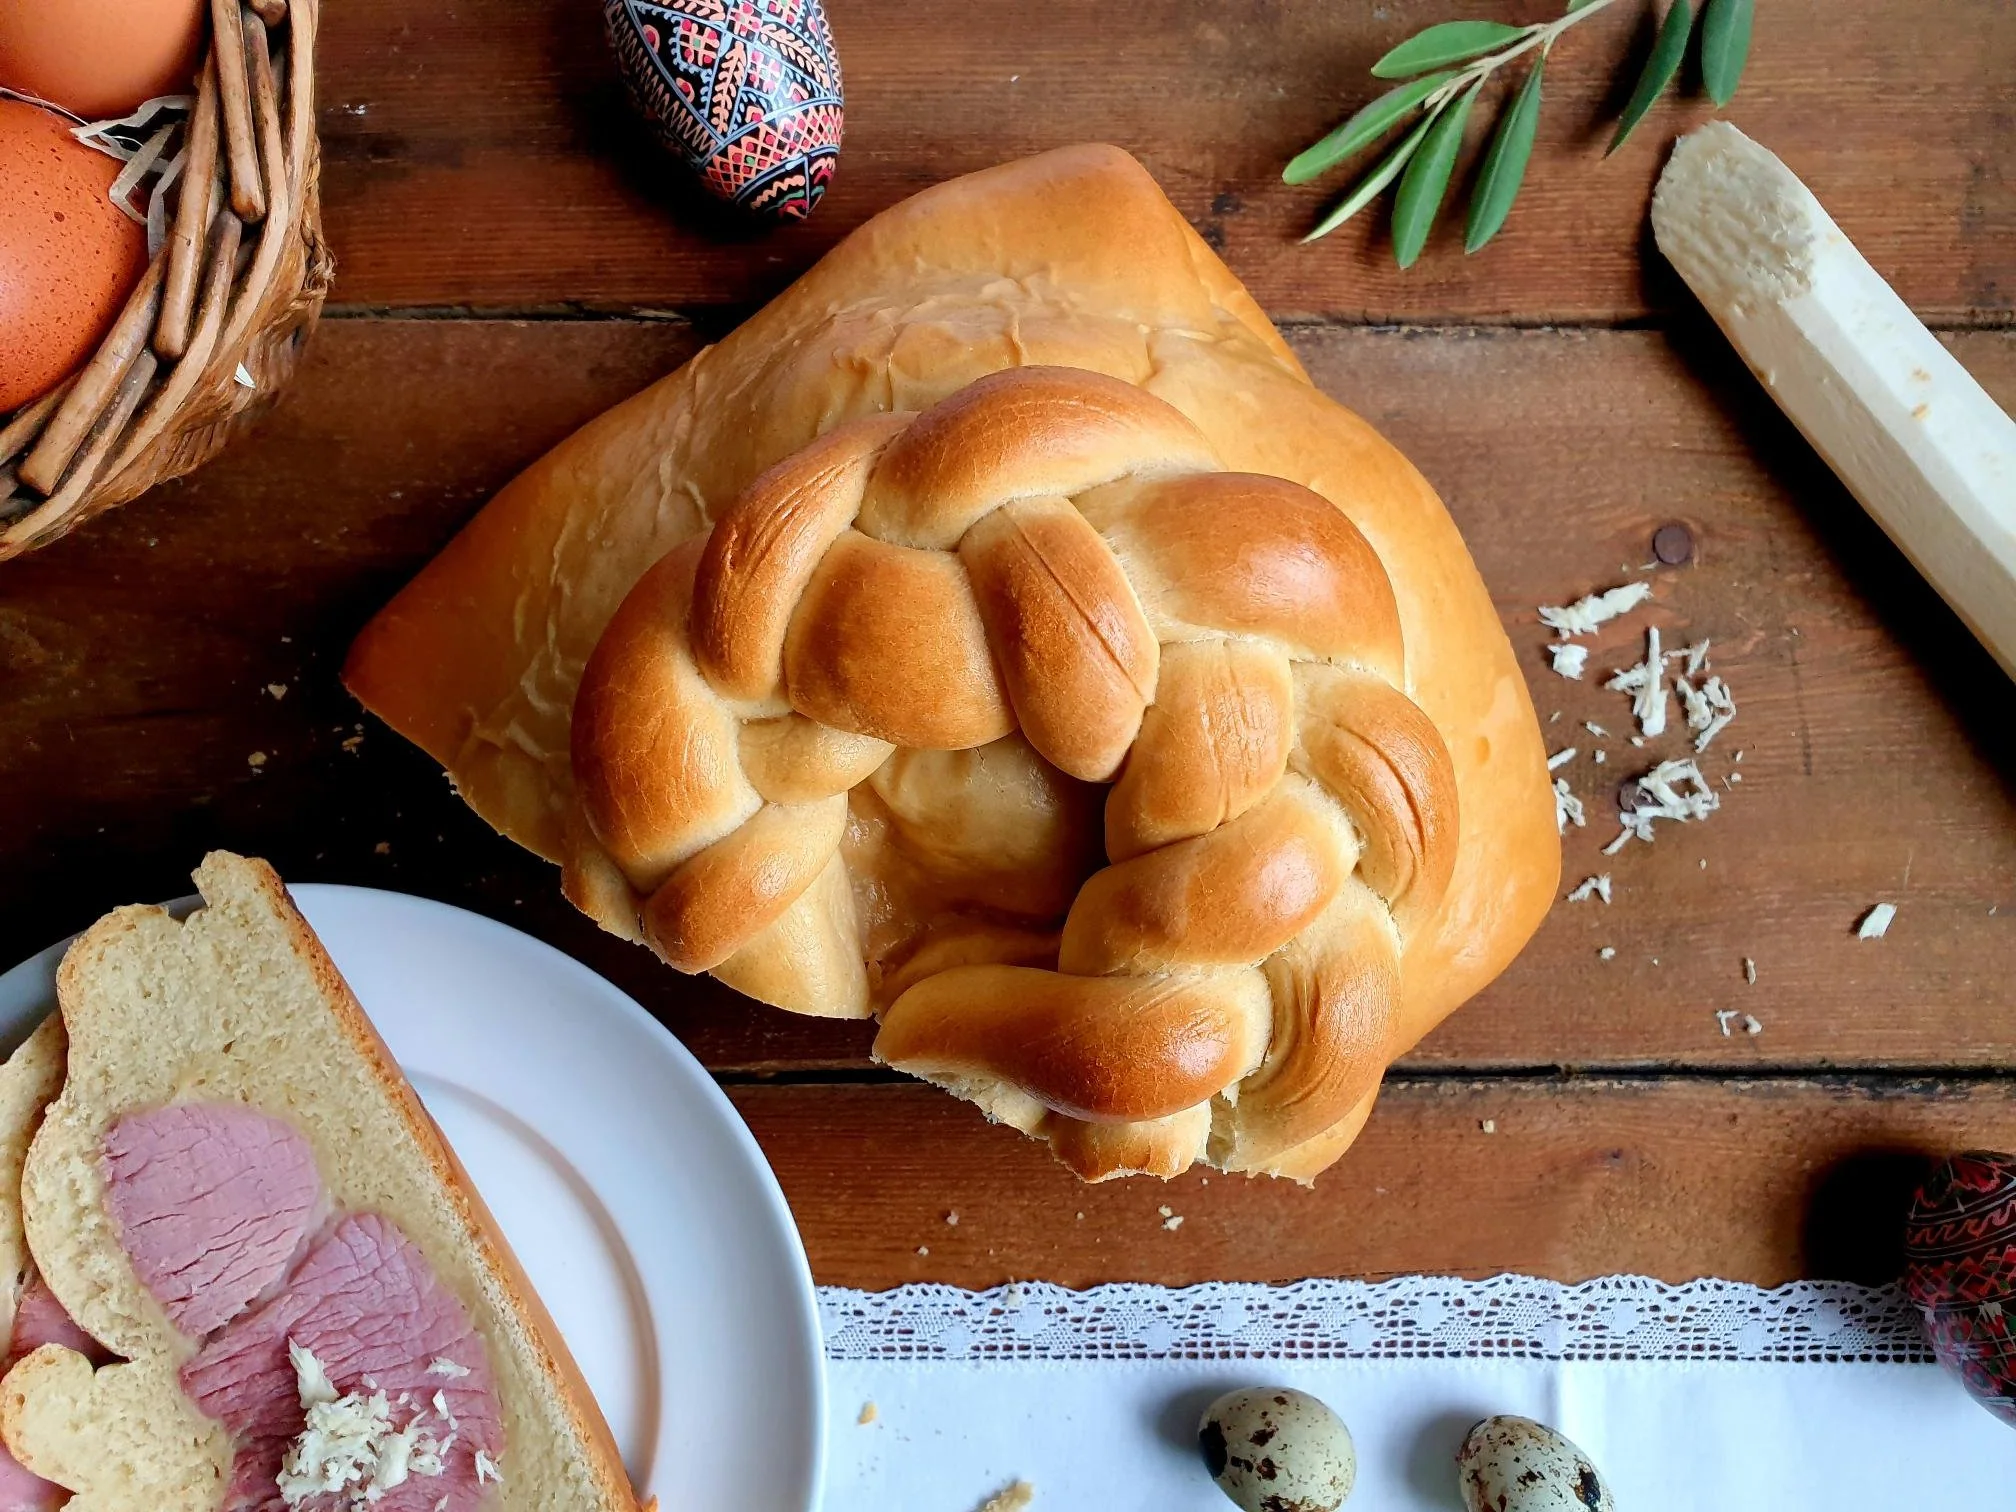
This dish consists of a piece of ham being cooked first and then wrapped in bread dough and baked in the oven allowing the aroma and the flavours of the ham to travel into the dough during the baking process.
On the Slovenian coast, where I come from, there is no Easter without this dish. This baked delicacy is so deeply rooted in Slovenian gastronomic culture that it is traditionally cooked and eaten around Easter period (with freshly grated horseradish or horseradish cream and mustard) and served as part of Easter breakfast on actual Easter day, in just about every corner of the country, together with hard boiled eggs, Pinca (Easter sweet bread) and Potica (traditional Slovenian festive nut roll).
This dish is also typically found in Trieste, and province of Trieste in Italy, in local osterie (informal, usually family run eating places serving simple local specialities), on a daily basis and typically served with a a glass of wine or locally produced artisan beer.
I studied in Trieste and had this dish on my graduation day as part of the buffet.
This recipe is so popular and delicious that it is nowadays enjoyed all year round, it is also ideal for picnics, as it can be made ahead of time and travels well.

Ingredients
Serves
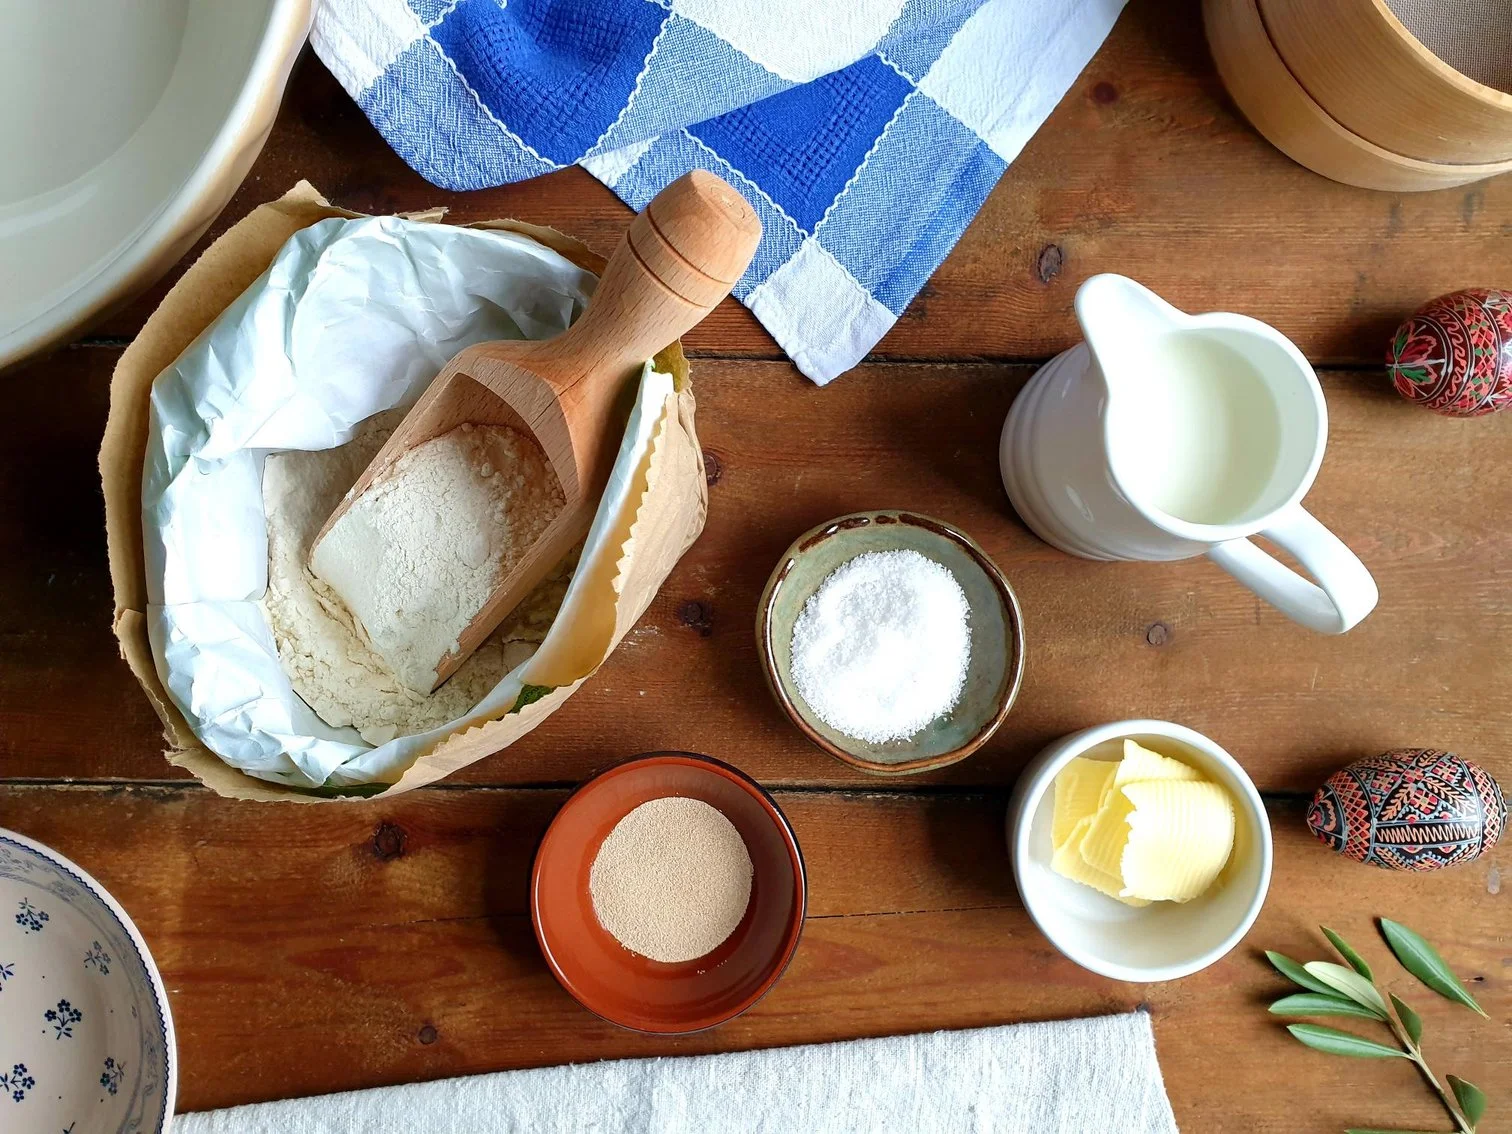
For the dough
500g strong white bread flour
7g (one sachet) fast-action dried yeast
sea salt, a pinch
300ml lukewarm milk (full fat, semi skimmed or skimmed)
25g butter, unsalted or slightly salted, melted
You also need
1.4kg, roughly, unsmoked or smoked Gammon joint
1 carrot, optional
1 celery stick, optional
½ onion, optional
1egg, beaten
a bit of extra milk (about 2 Tbsp)
Method
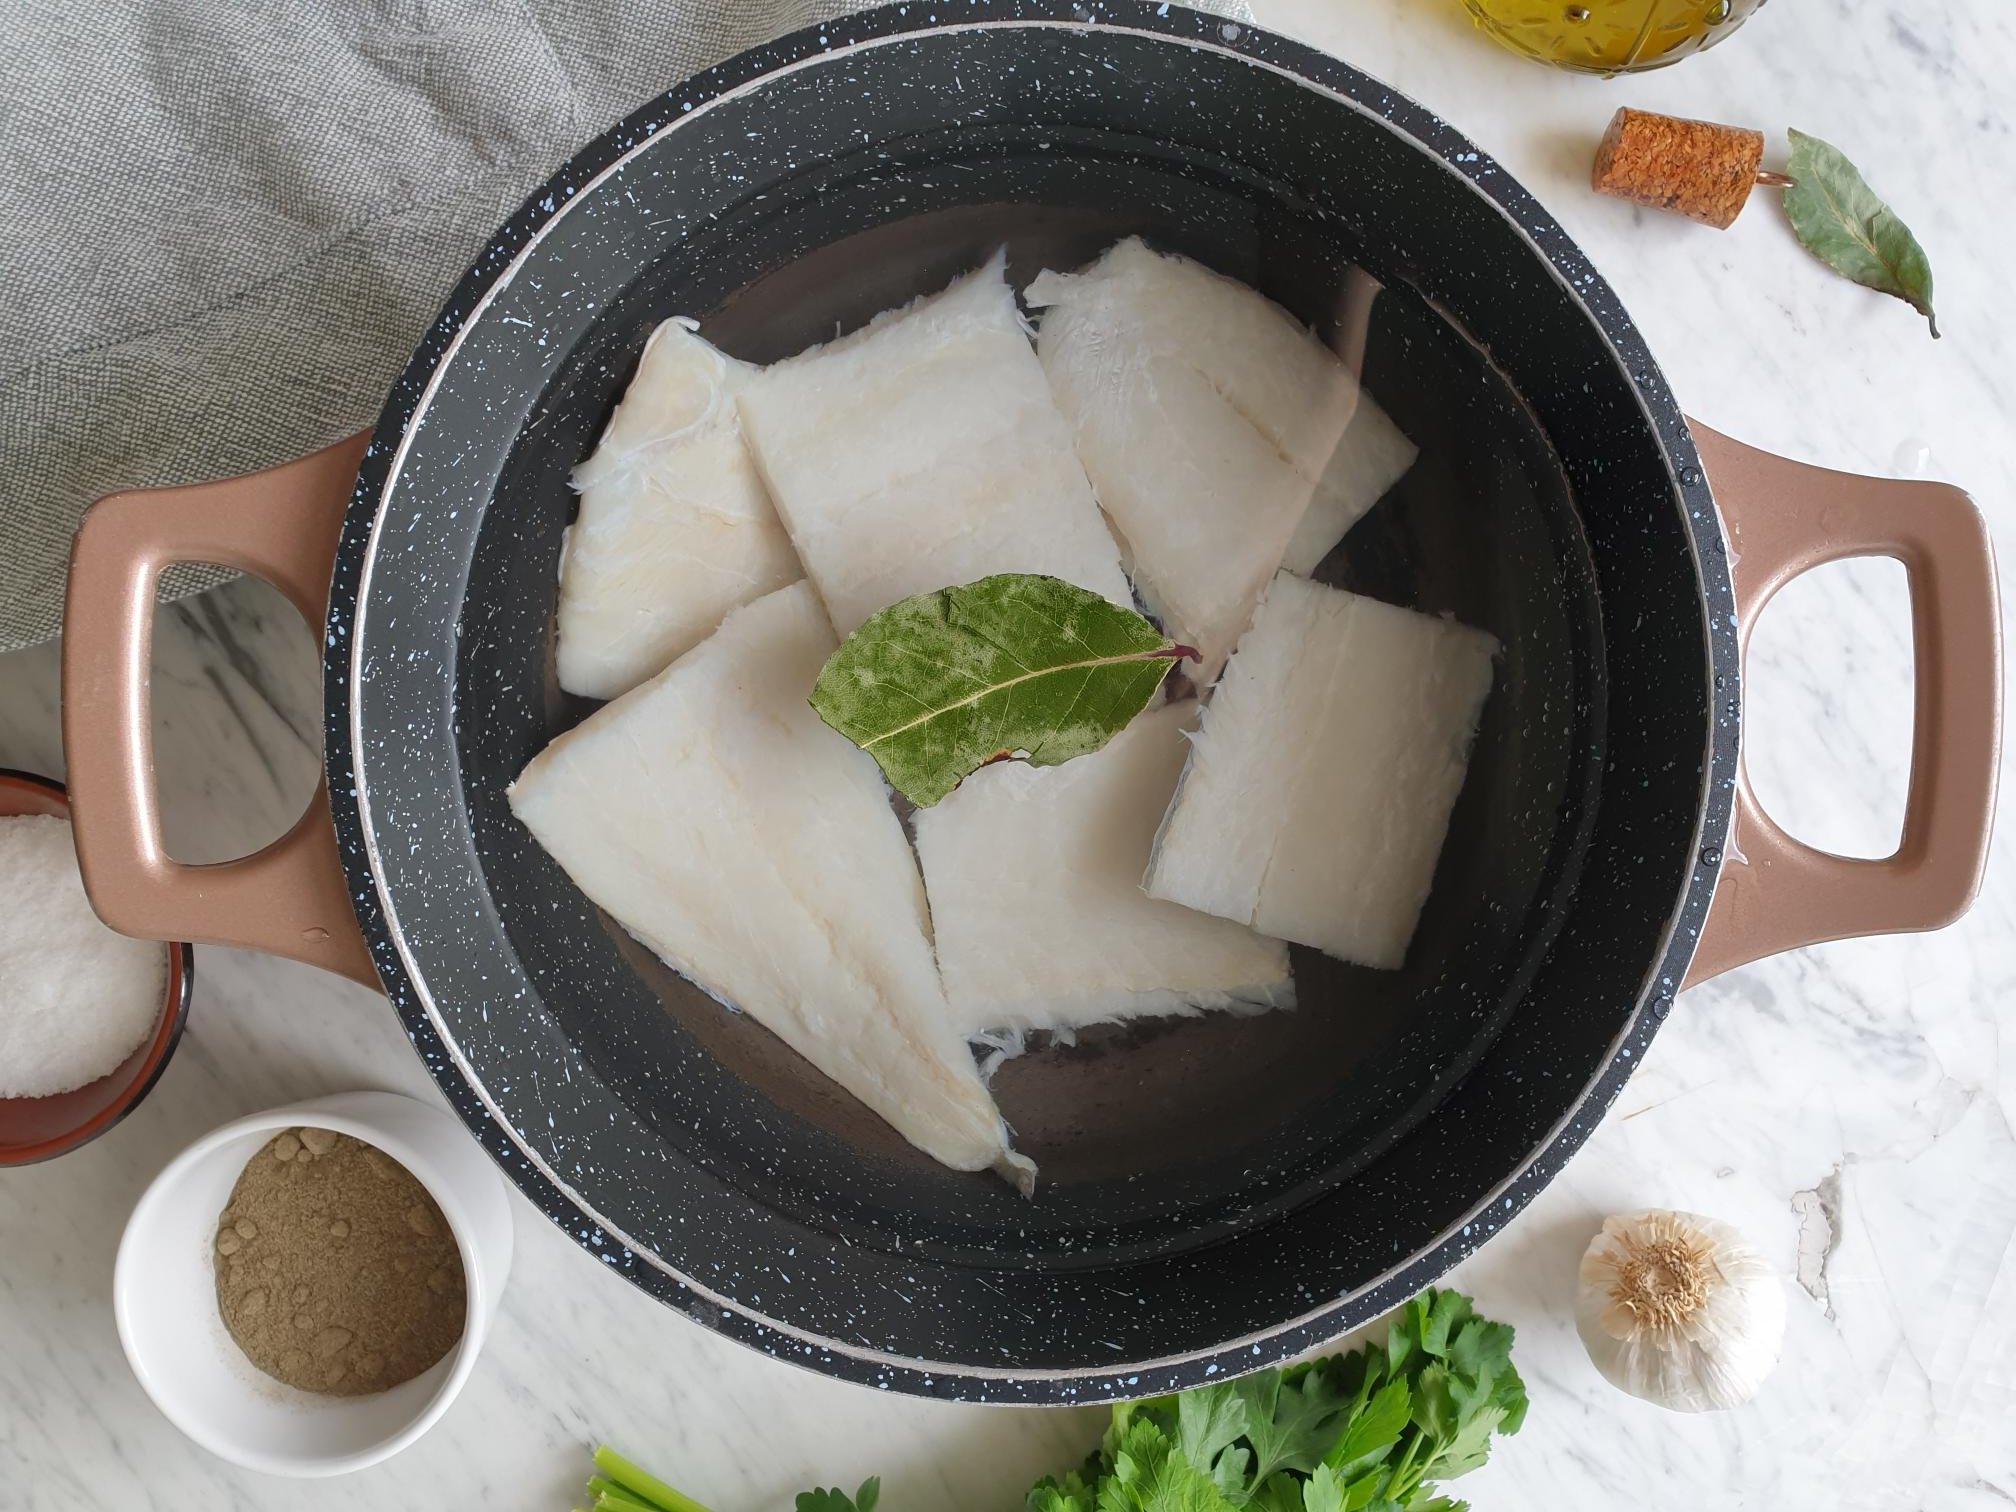
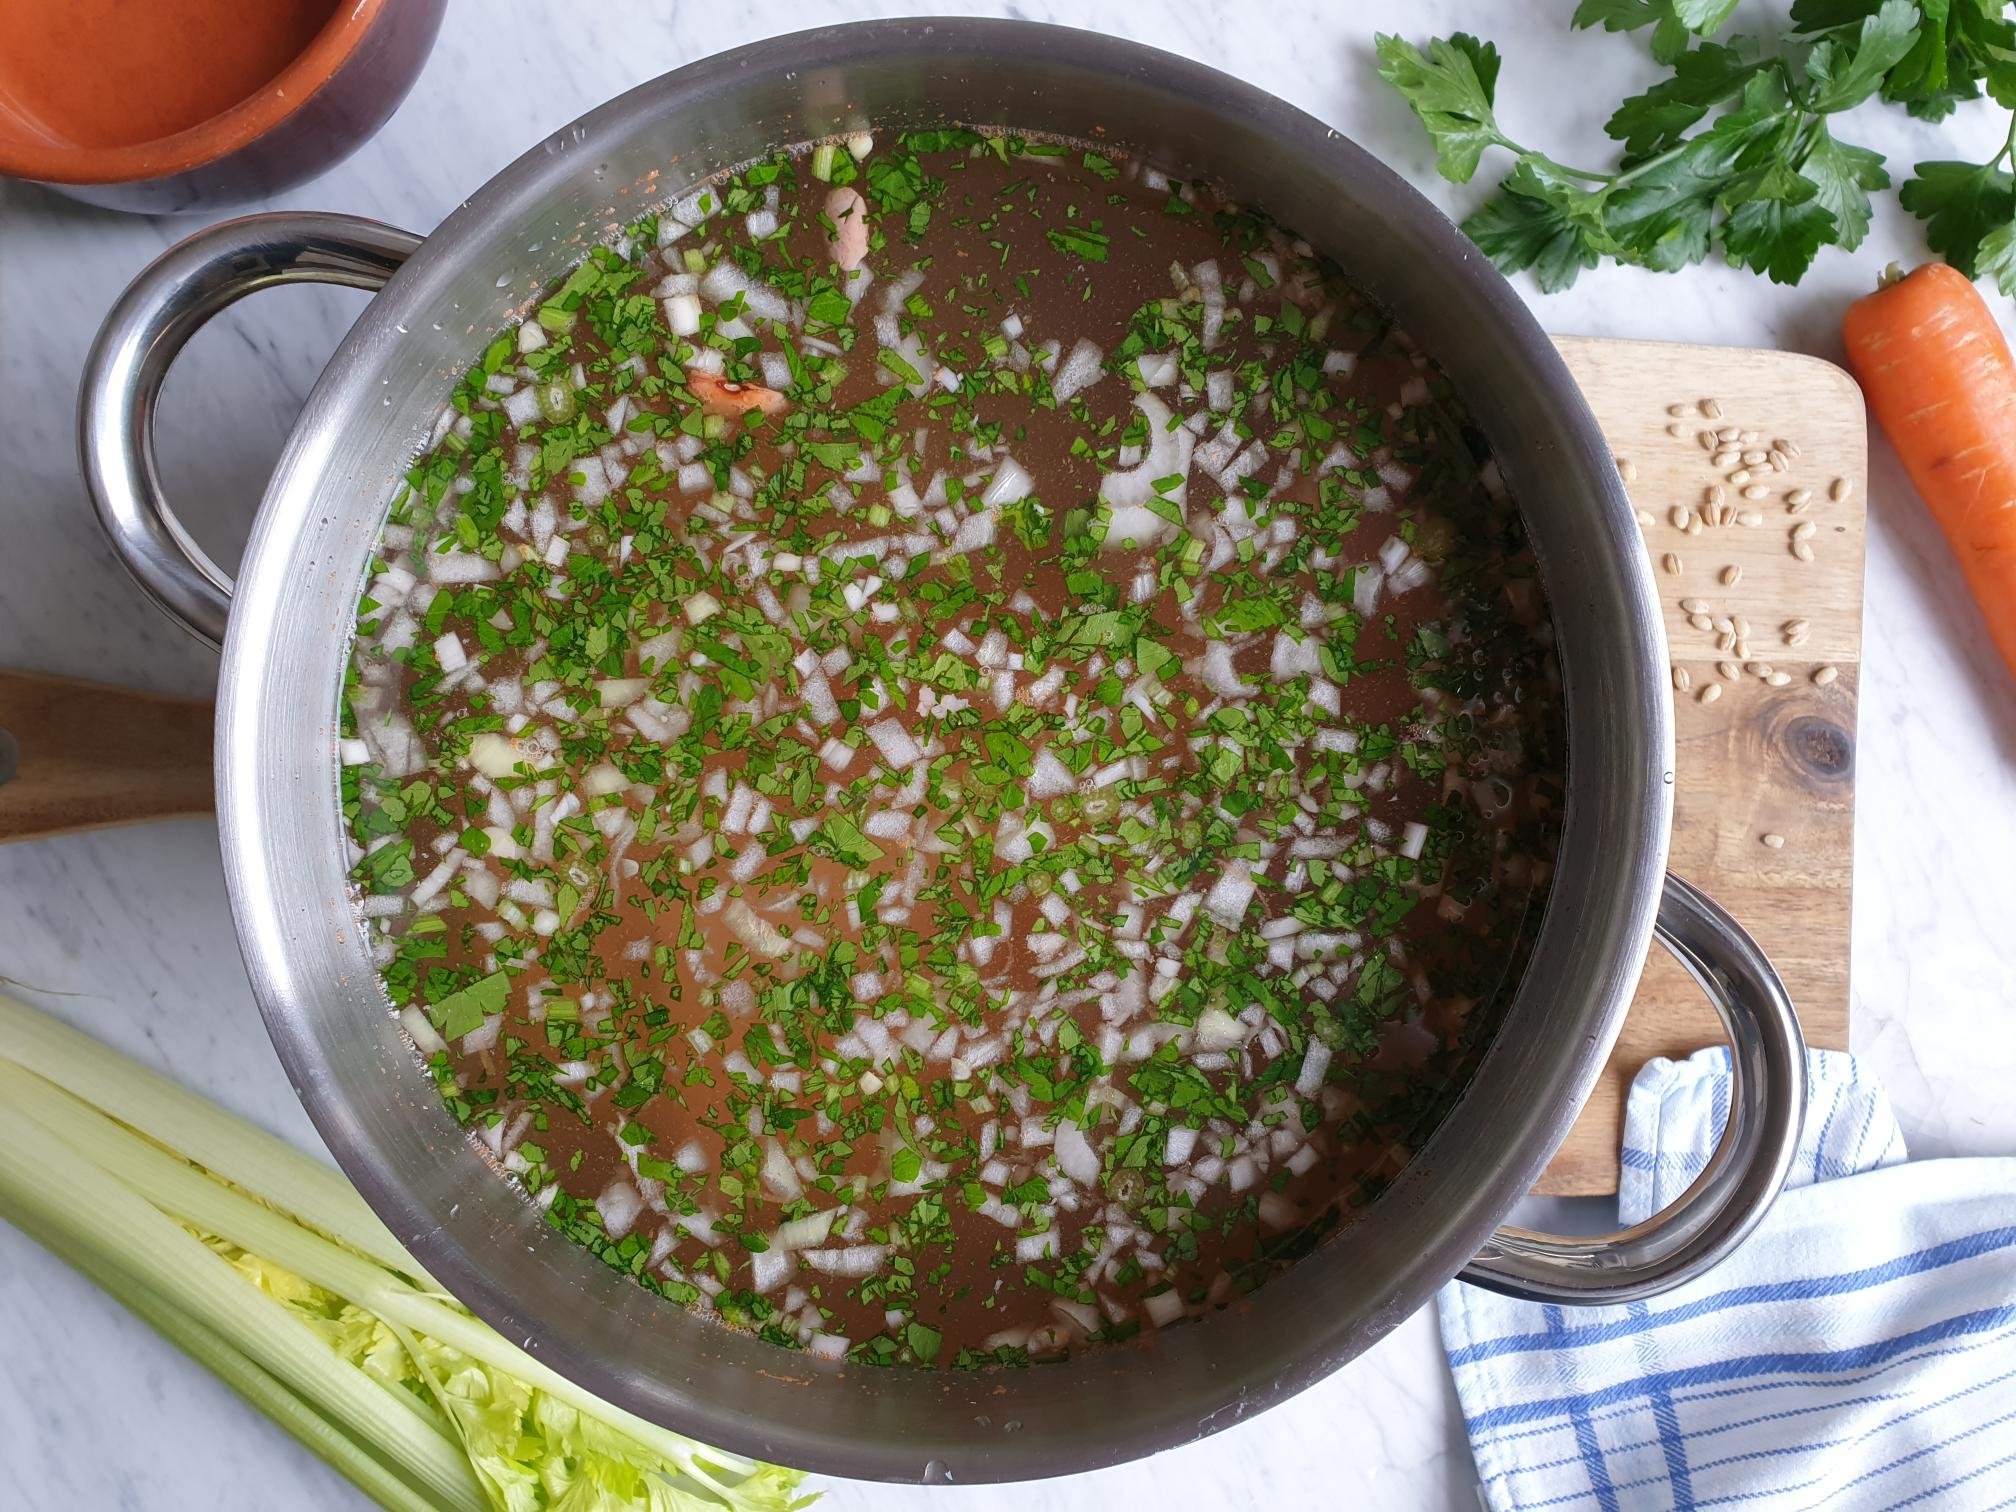
Place the ham in a big pot and add enough cold water to completely cover the ham.
Add a whole carrot, celery stick and half an onion for extra flavour, if desired.
Bring to boil, lower the heat, cover with the lid and gently boil for required time, this will depend on the size of the ham. (Weight your meat to calculate and work out your cooking times, allow 20 minutes per 450g)
While the ham is cooking, make the dough. (You can cook the ham in advance and wrap it in aluminium foil to keep it moist, and use when needed.
Drain cooked ham in a colander and let it cool completely.
Pat dry the ham well with the kitchen paper.
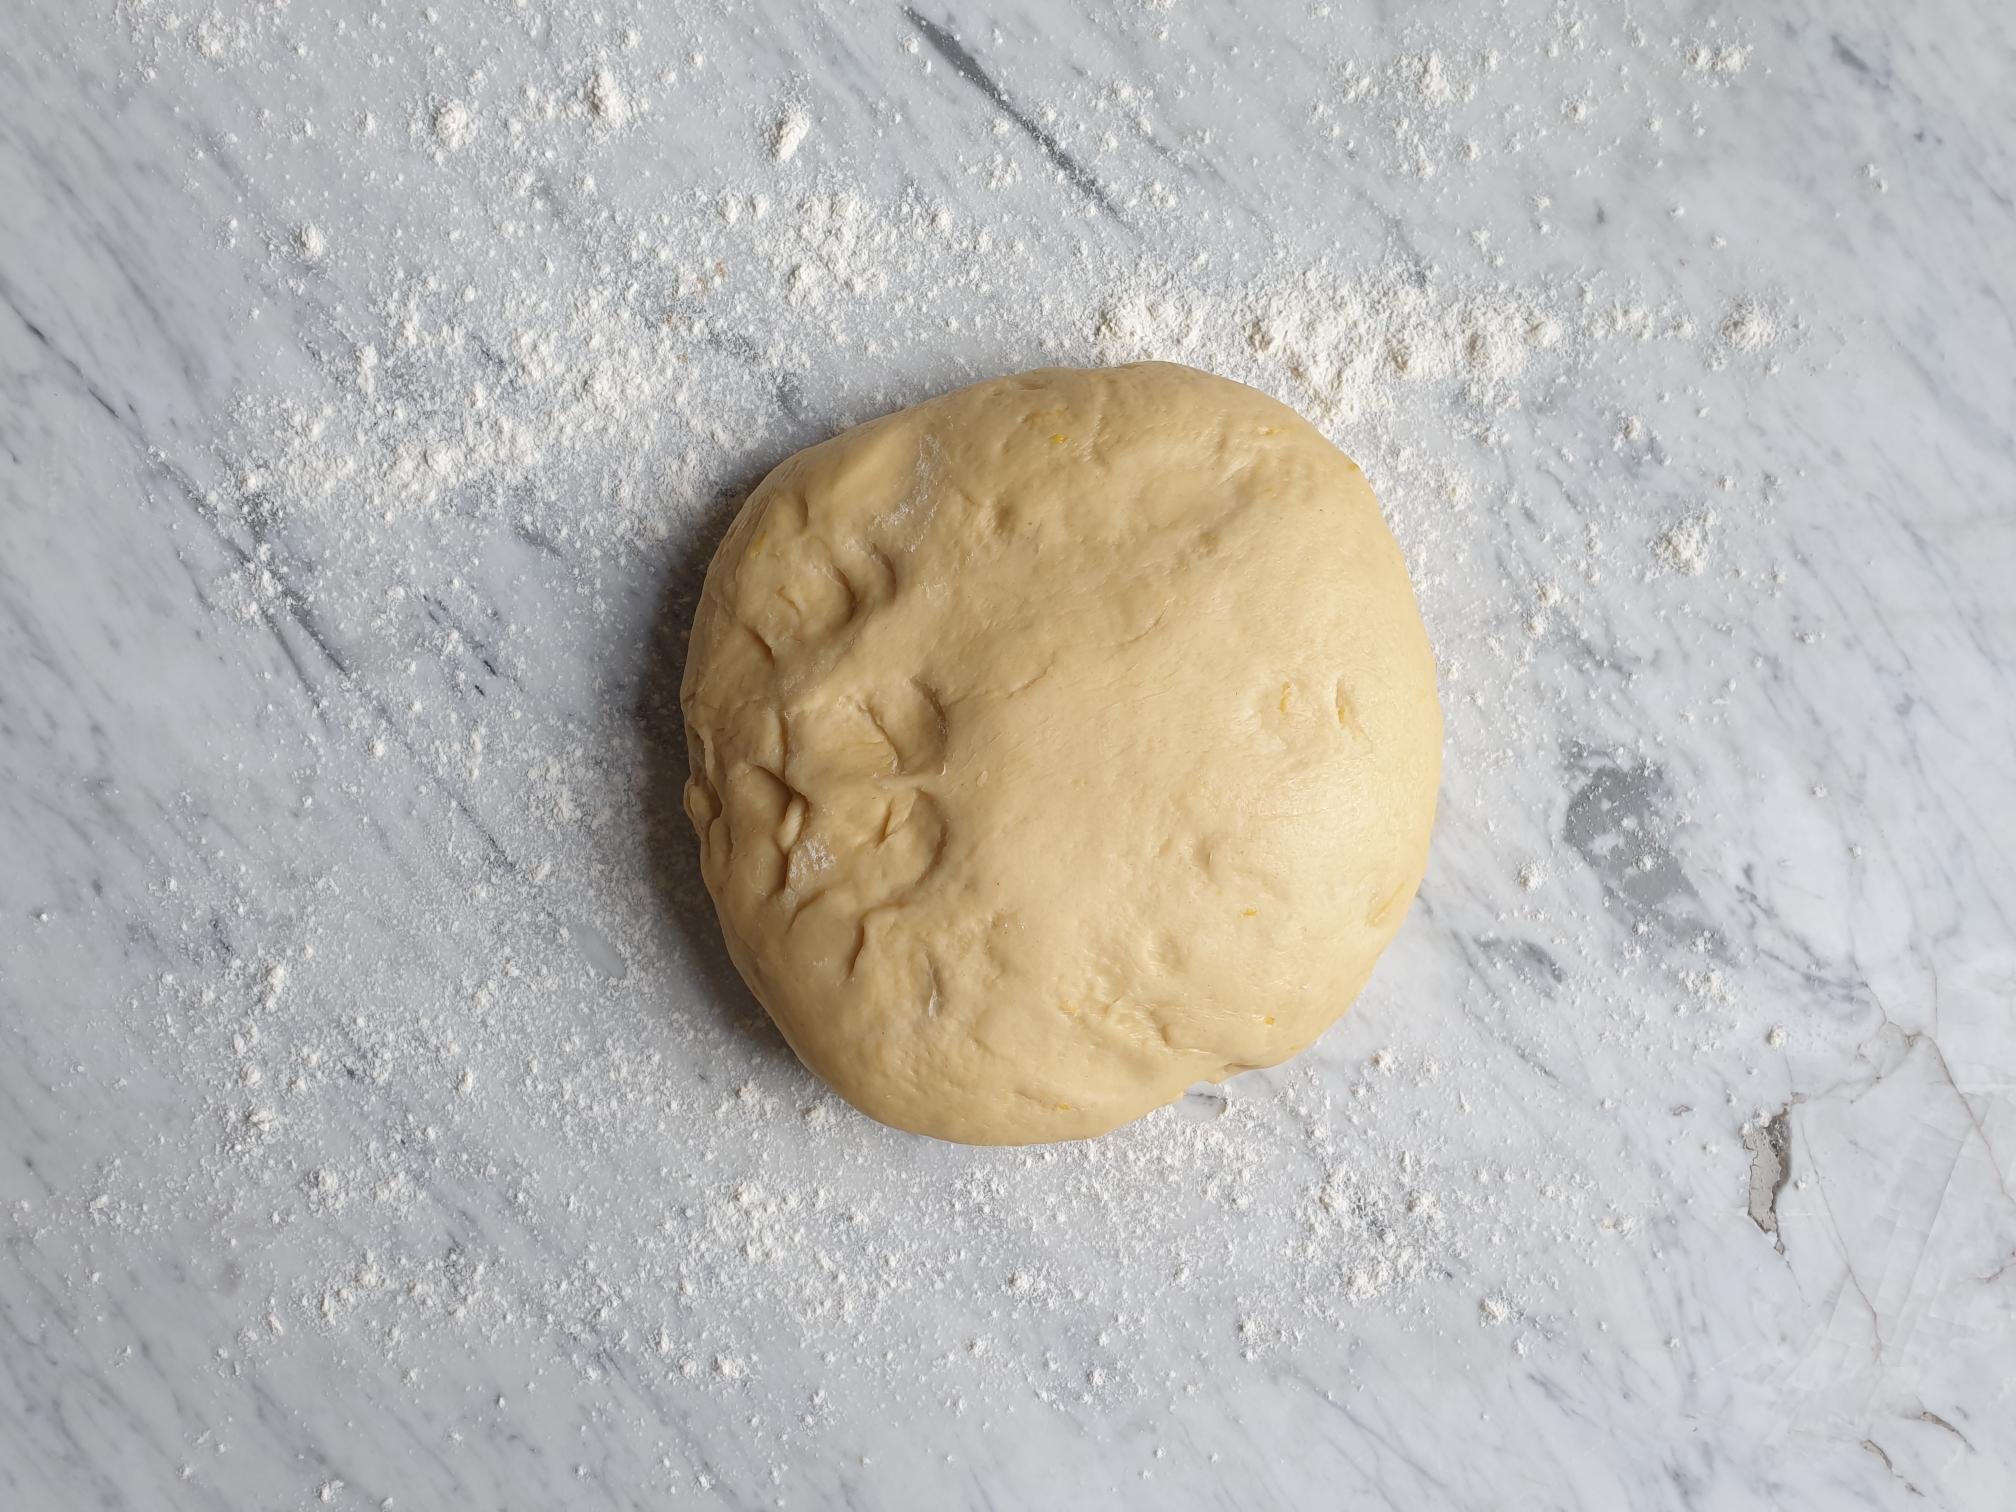
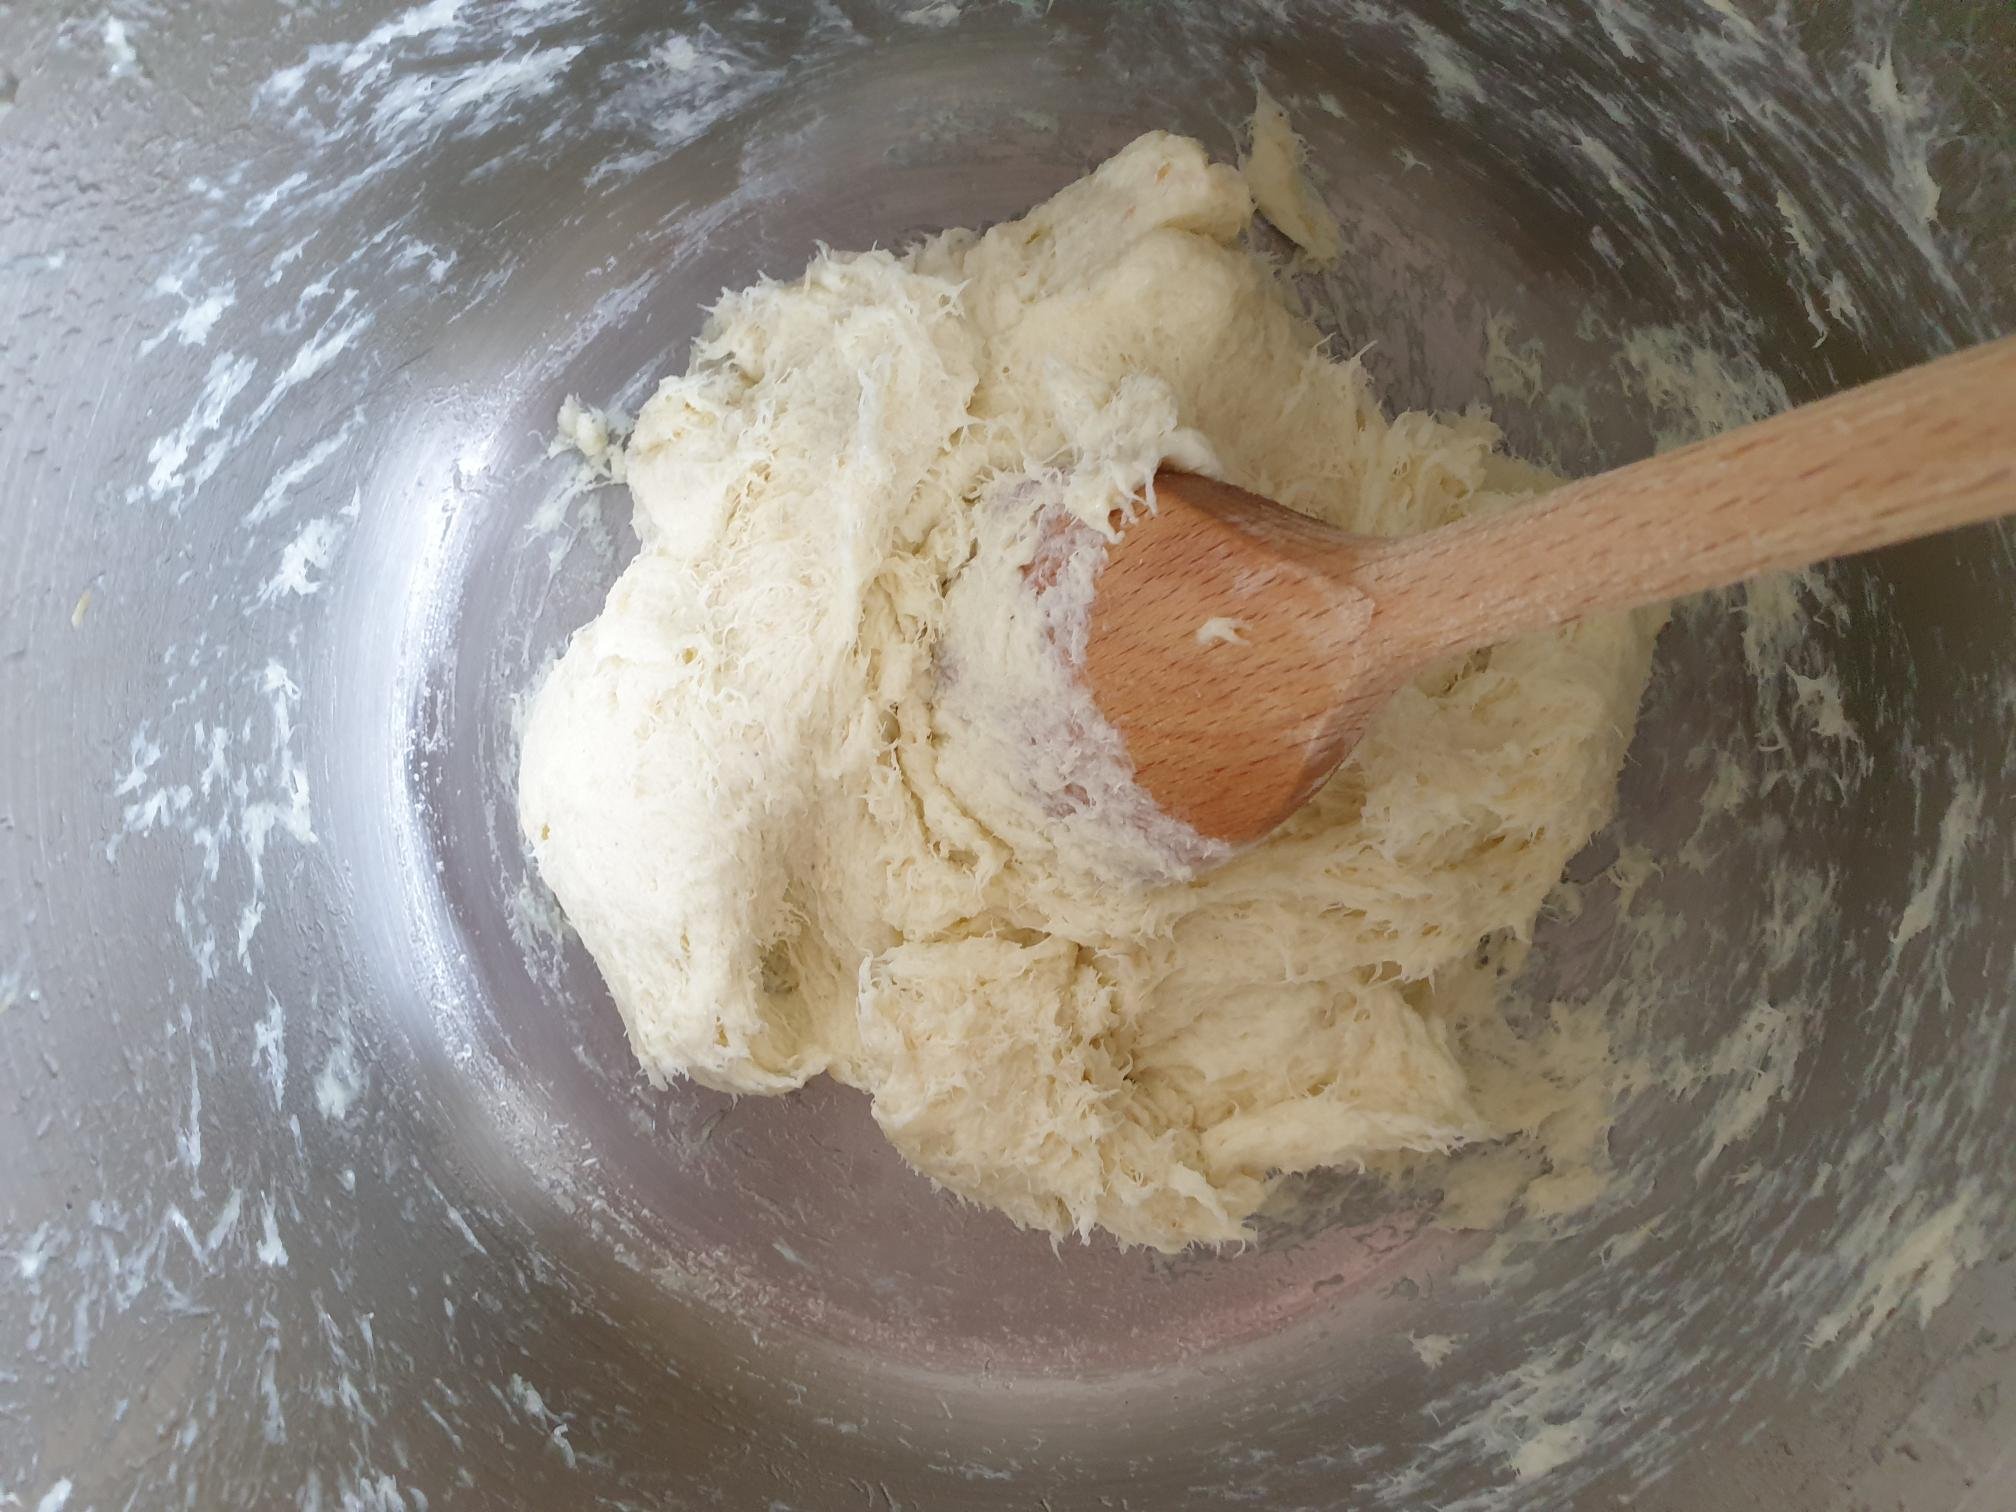
Put the flour in a large mixing bowl, add dried yeast on one side of the bowl and sea salt on the other. Add the milk, melted butter and mix to combine well all the ingredients.


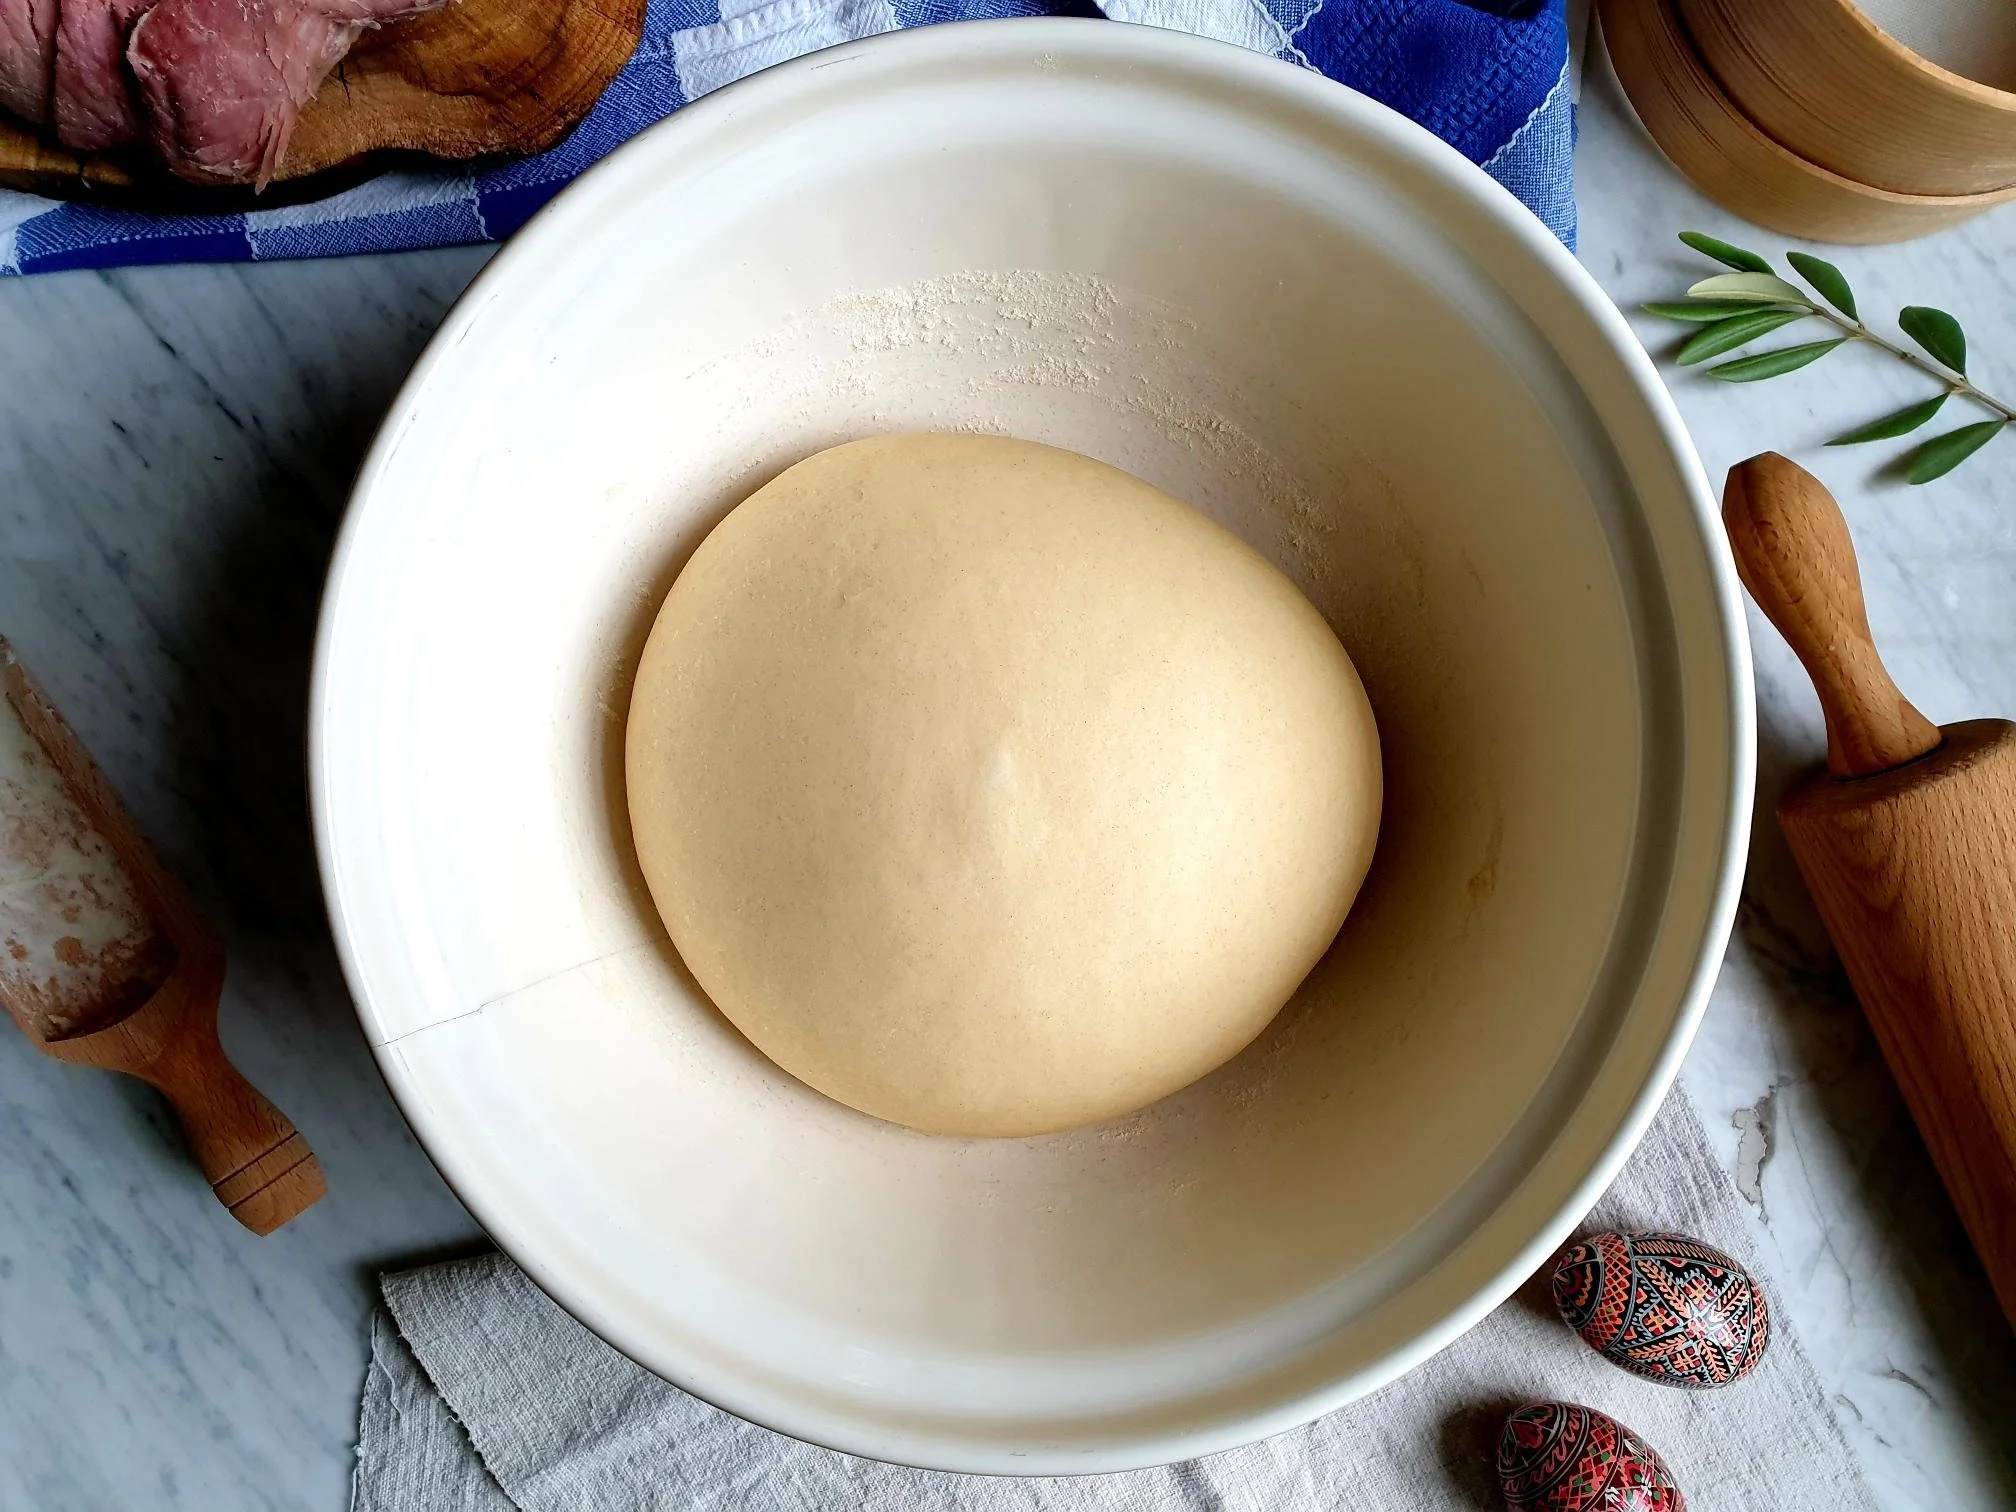
The dough at this point will be a bit sticky, but should not be soggy. The dough will become less sticky as you knead.


Transfer the mixture on to a lightly floured (or lightly oiled) work surface and knead for about 10-15 minutes until the dough is nice and smooth and has an elastic texture. Your hands should not stick to the dough, if they do add a bit of flour at a time.
Put the dough in a lightly oiled large bowl and cover with a cling film. Stand in a warm place, free of drafts, and let it rise for at least 1-1 ½ hours until the dough has doubled or tripled in size.
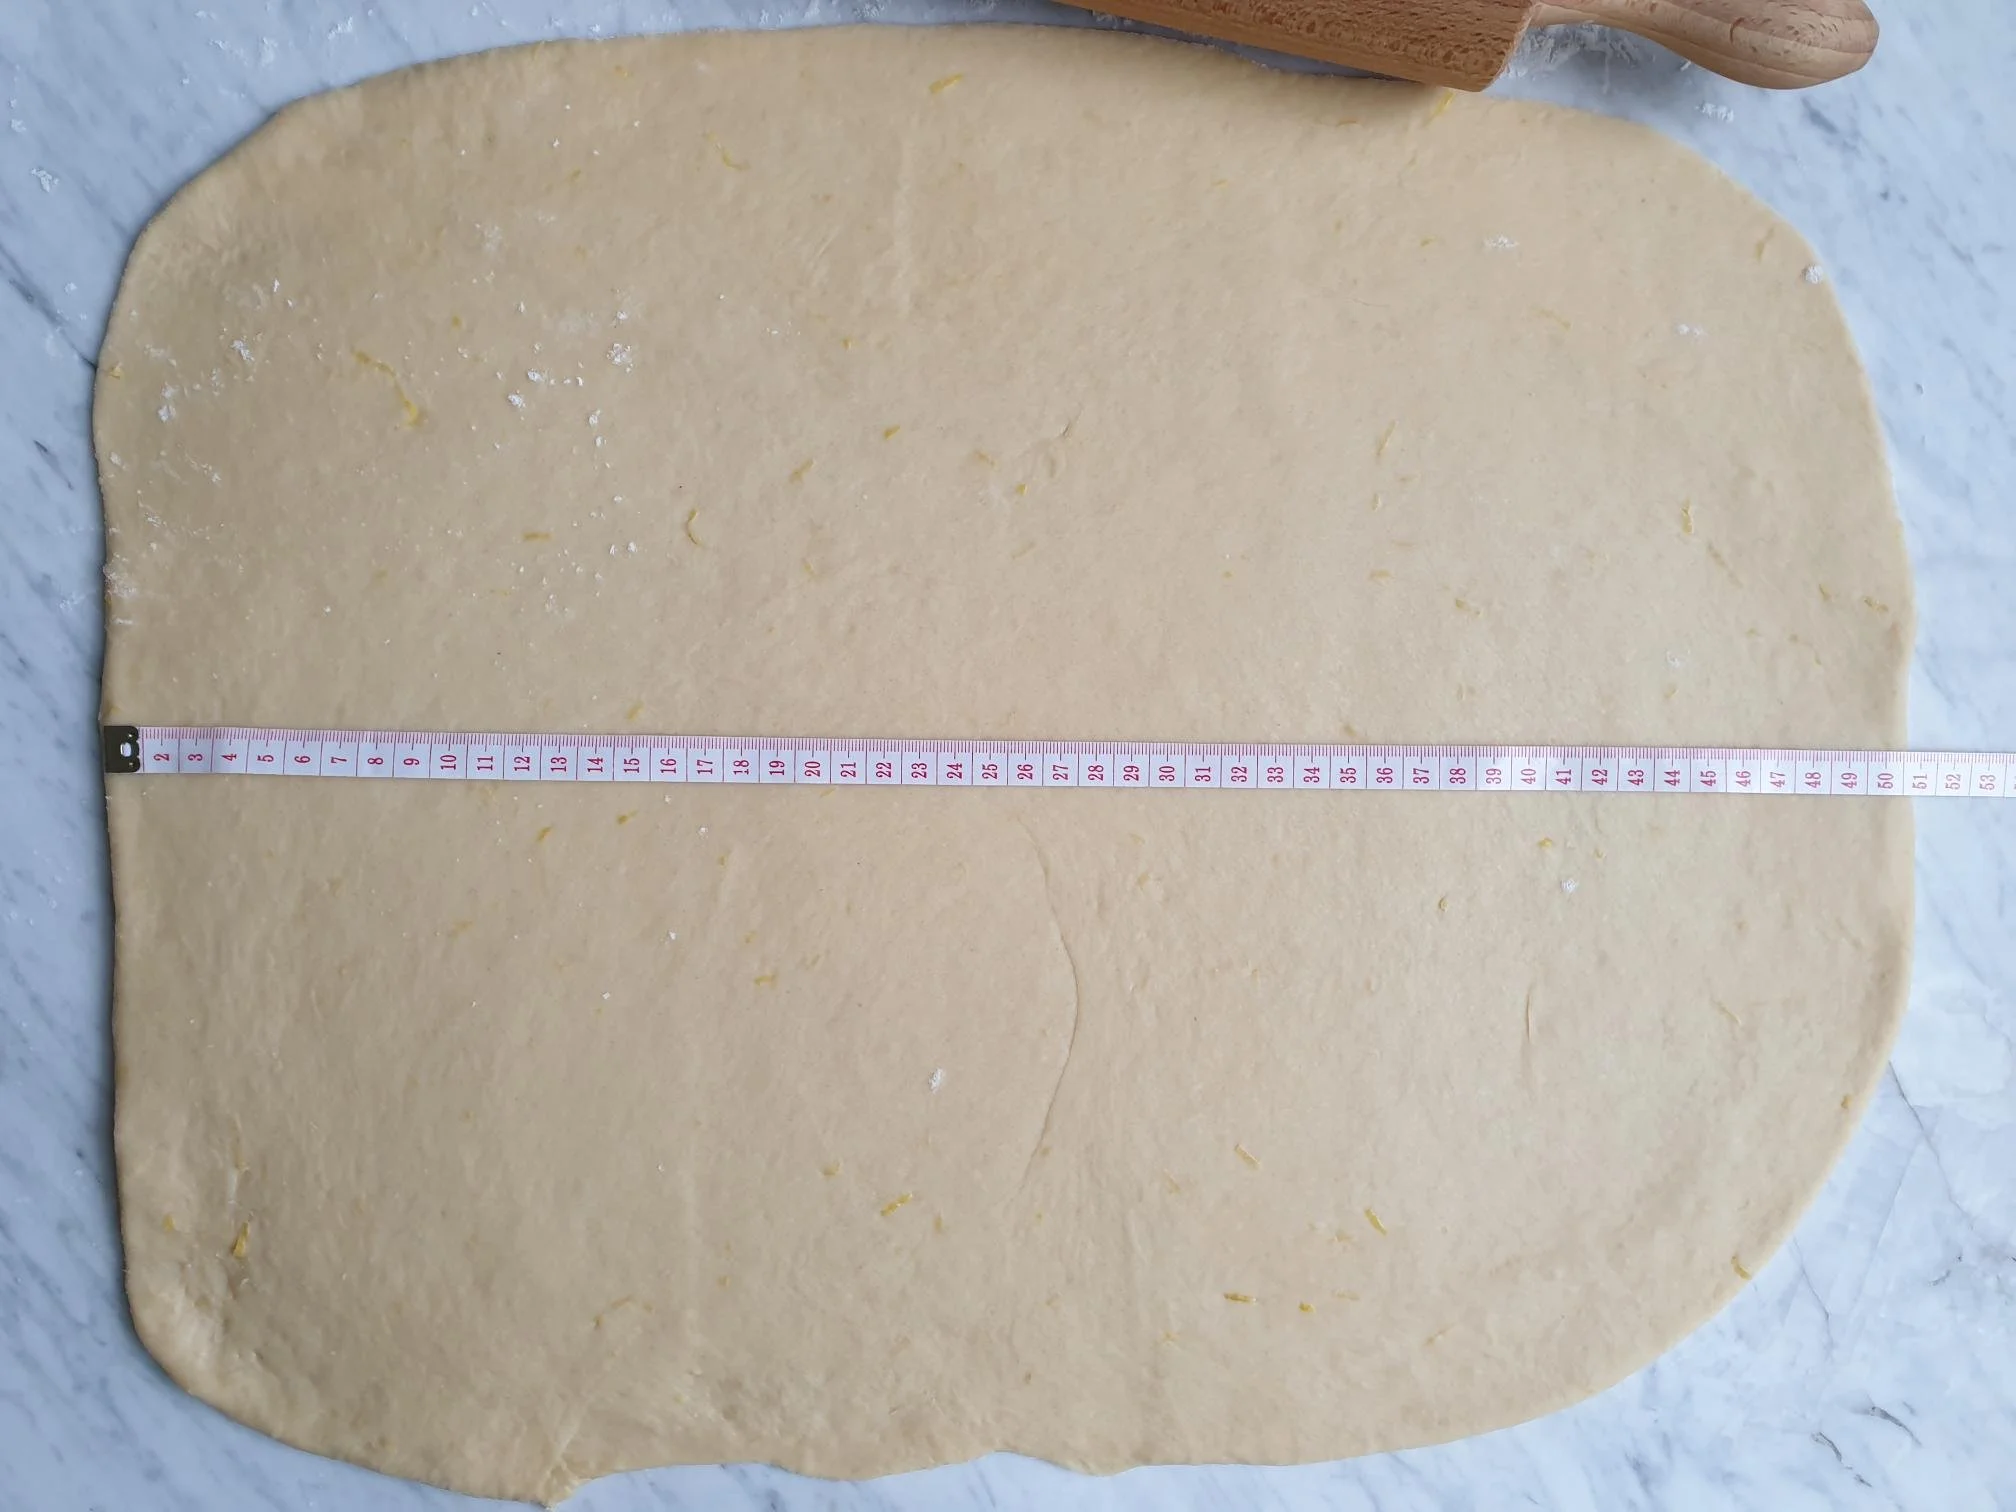
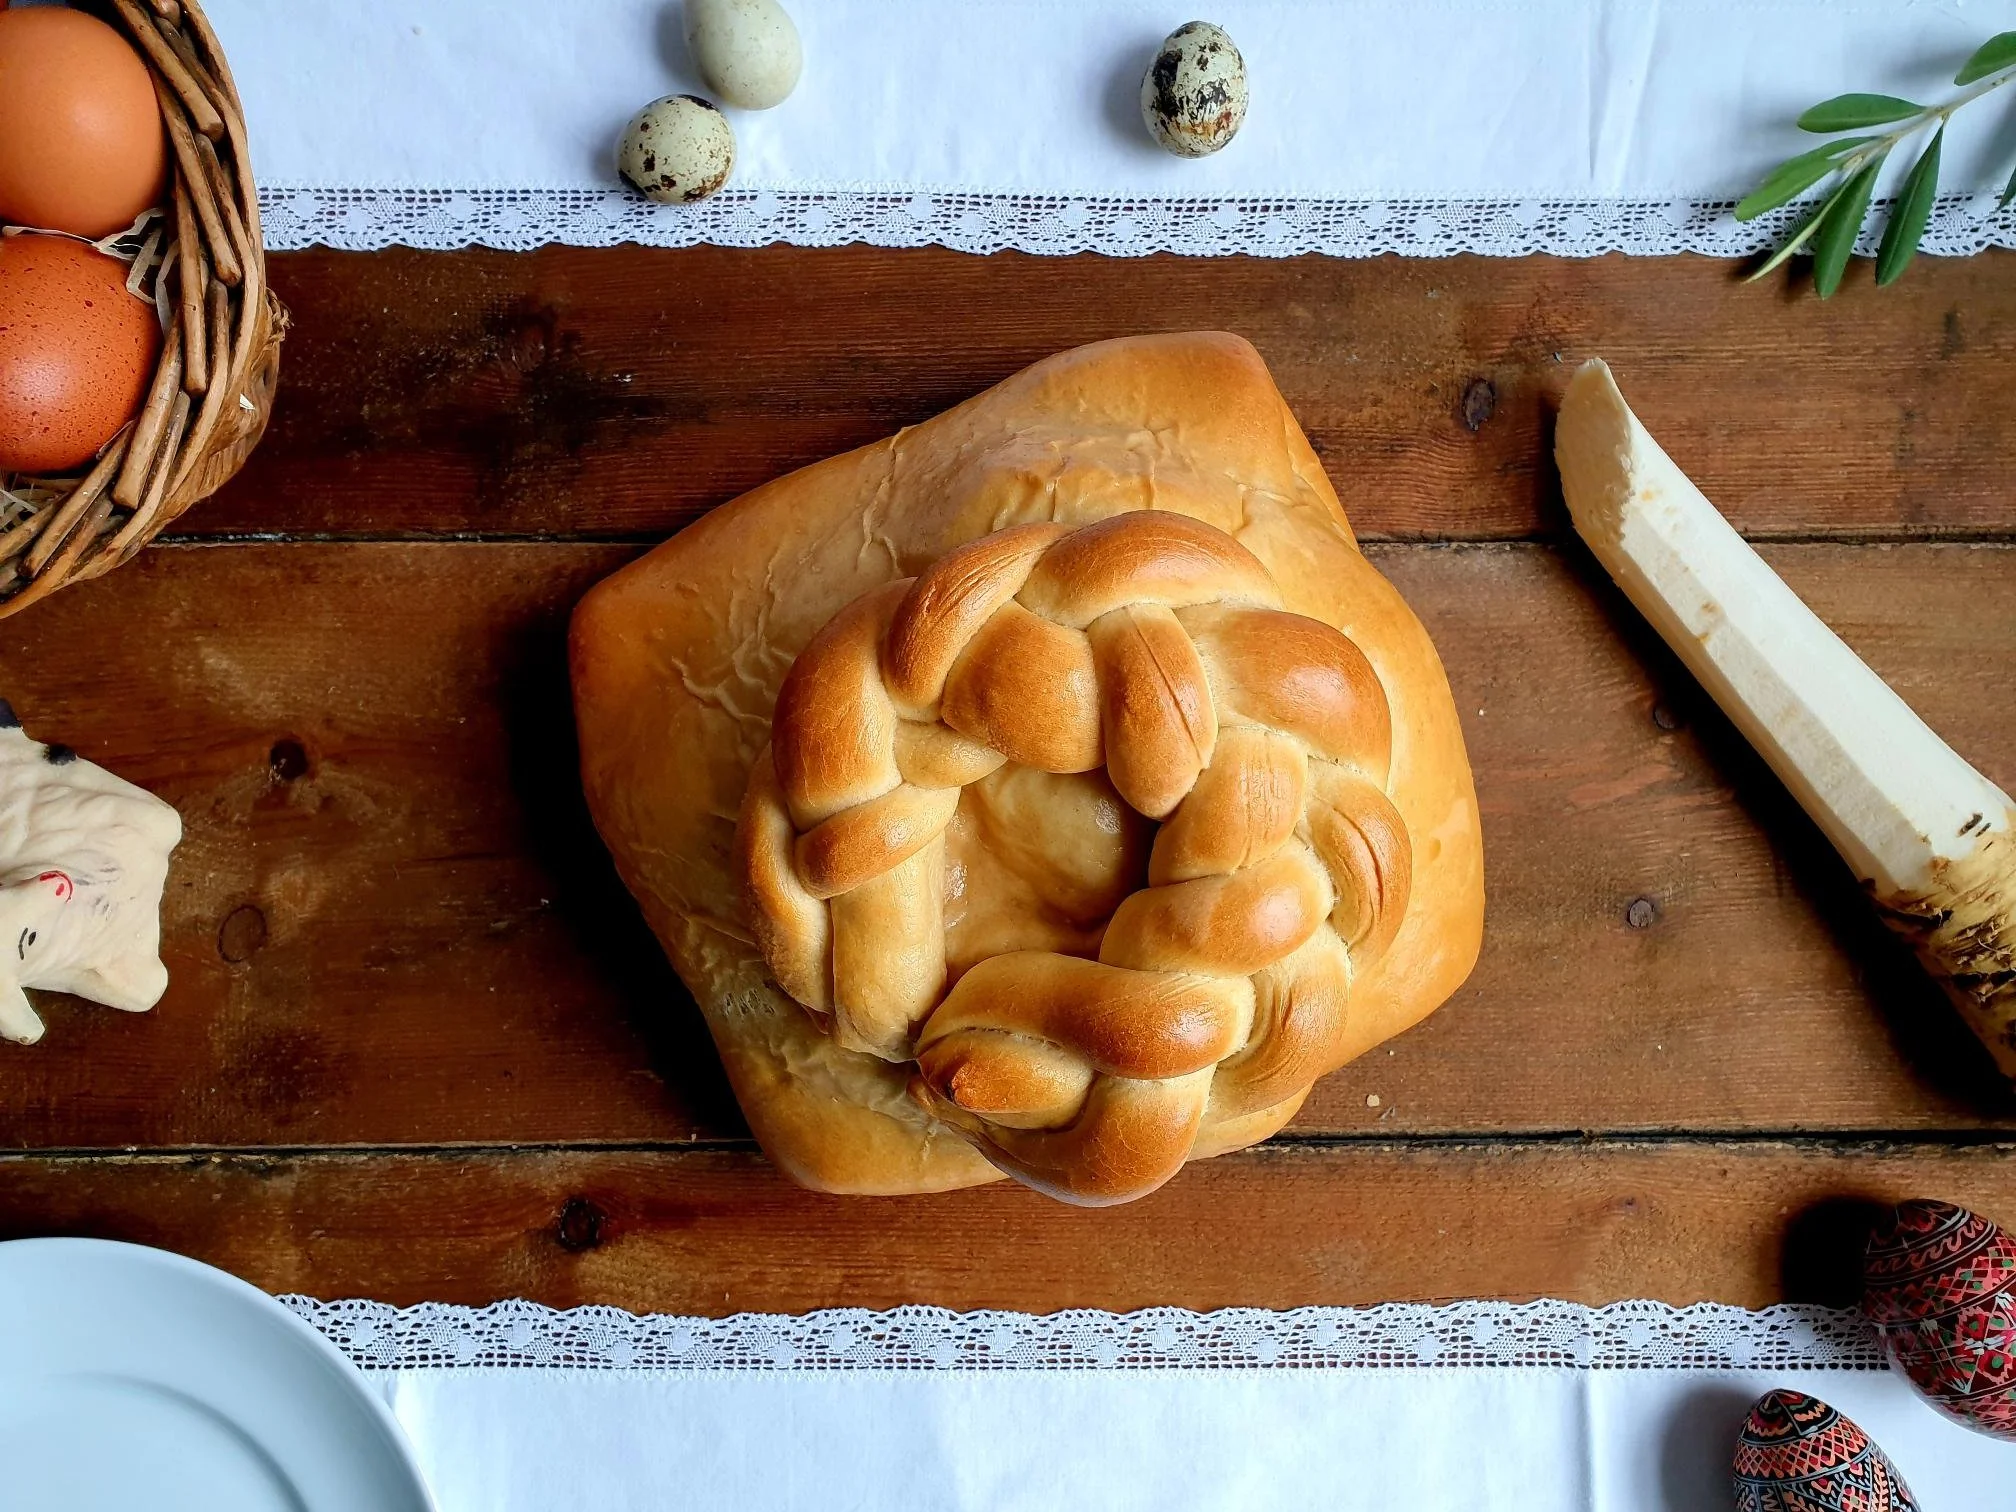
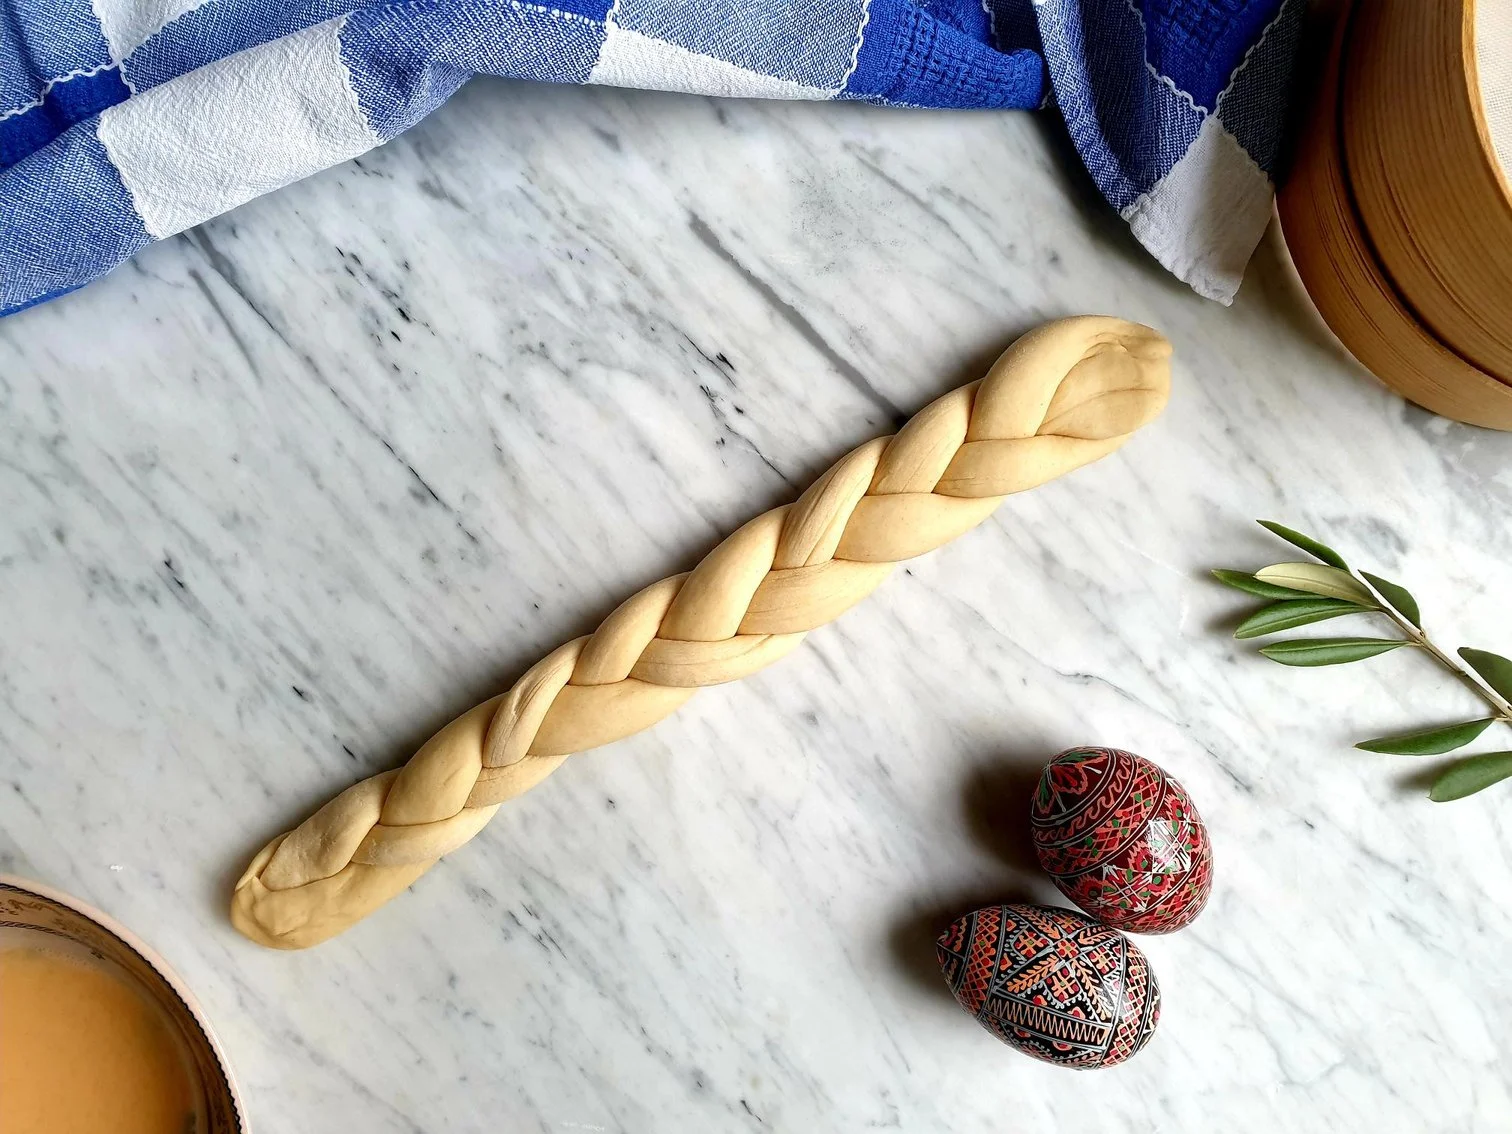
Turn the dough on to lightly floured surface and knock back by hand for few minutes. Flour well the surface and with the rolling pin roll the dough to about 2cm thick. At this point you can pinch a bit of dough for decorating if you wish (I made a little dough plait, as it is done traditionally).


Preheat the oven to 180C static or equivalent and line the baking tray with the non stick baking parchment.
In a small bowl mix the beaten egg with a bit of milk and brush the centre of the rolled dough.
Place the ham in the centre on the brushed area.
Brush the rest of the ham with egg and milk mixture.
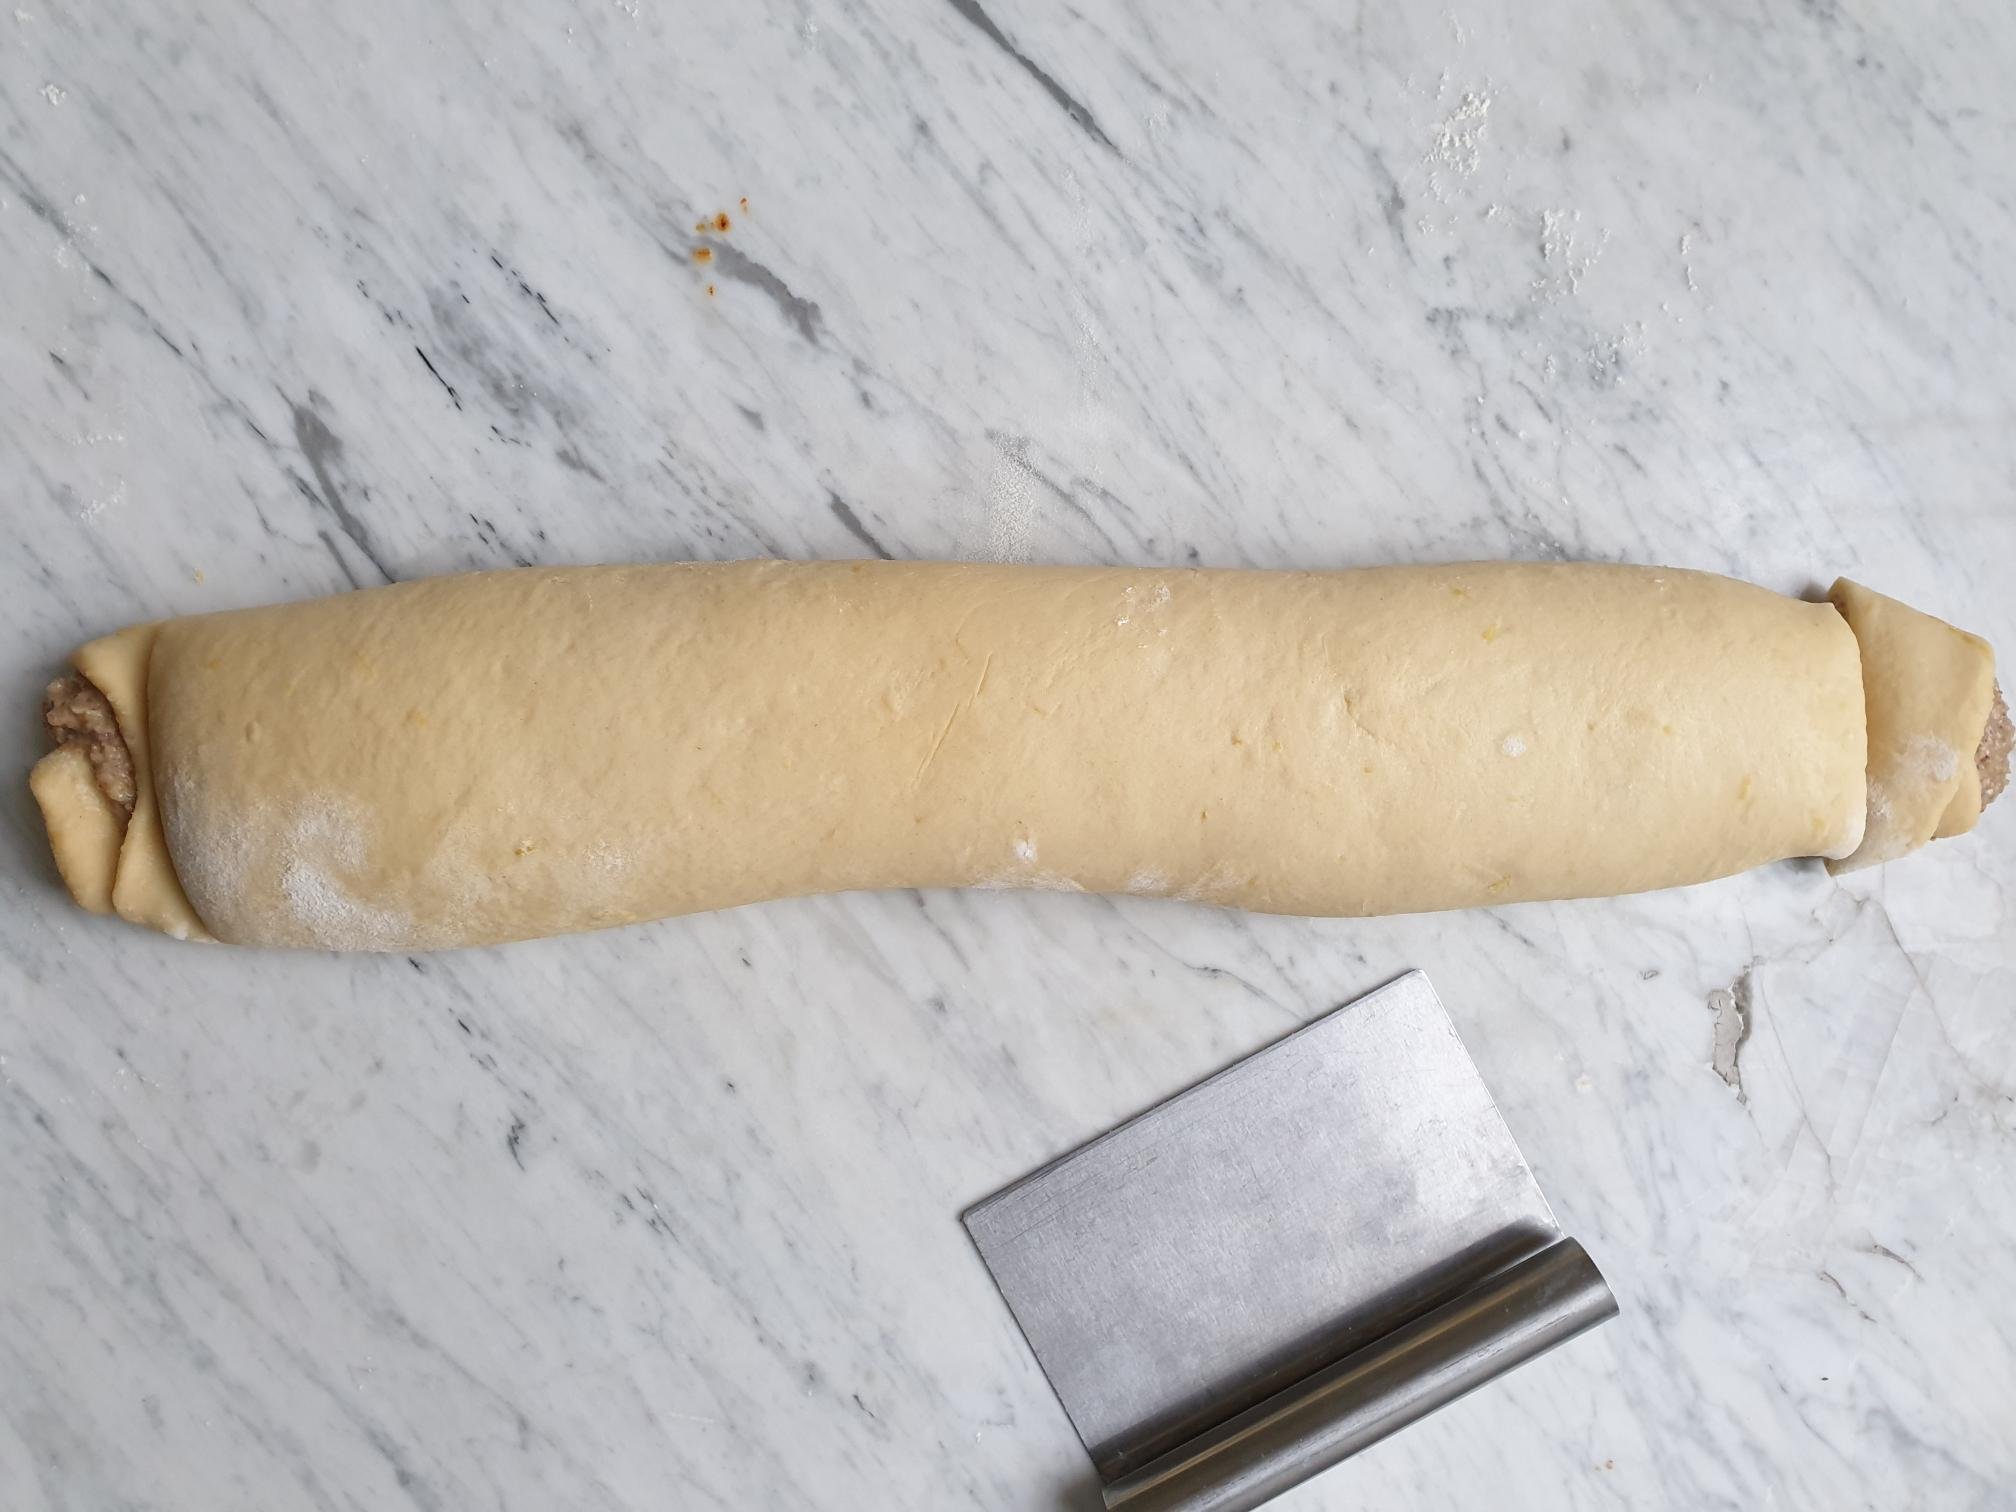
Wrap the ham with the dough all around, a bit like a parcel. Seal well the edges to avoid the dough opening up during the baking.


Place your ham and dough parcel on a baking tray with the junctions facing downwards.
Glaze the ham and dough parcel on all sides with the egg and milk mixture.
Prick the ham and dough parcel with a toothpick.
If you created a small Easter themed dough decoration, place it on top of the dough parcel and brush with egg and milk mixture.
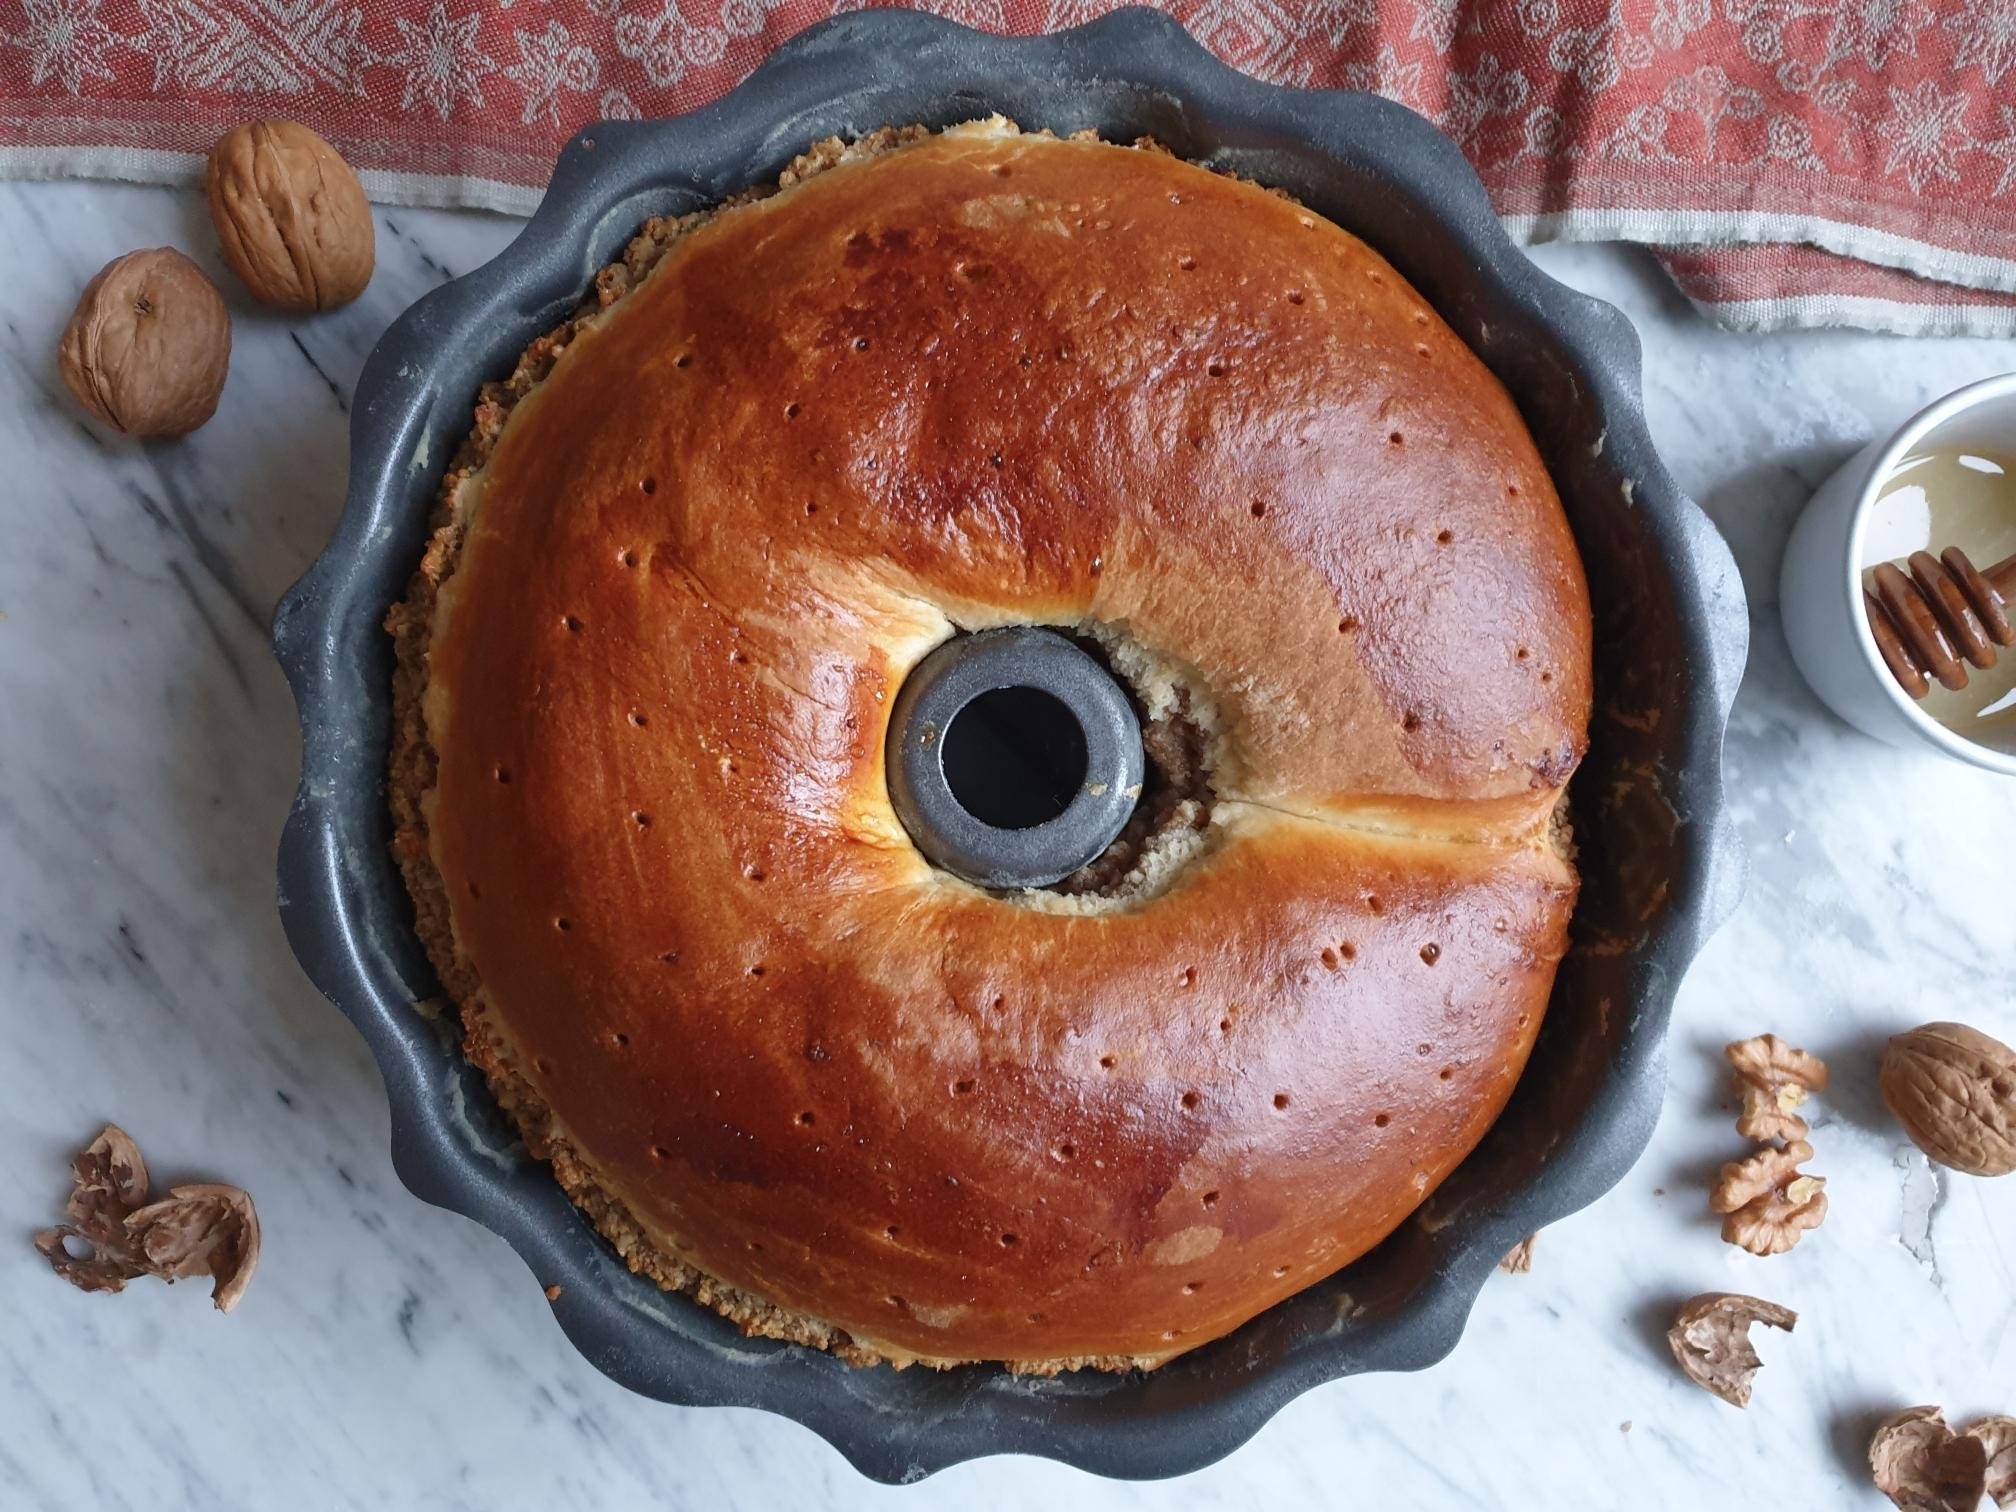
Put the ham dough parcel in the preheated oven and bake for 60 minutes. Half way the baking time cover with aluminium foil and bake further until golden in colour.


Take out of the oven, leave to cool on the baking tray for a few minutes, then remove from the baking tray and leave to cool on a wire rack.
Best served warm with horse radish sauce, freshly grated horse radish root or/and mustard.

Wine suggestion
Collio Pinot Bianco DOC 2020 - Doro Princic